本文对应项目的码云地址:https://gitee.com/wanchuanxy/AndroidHeroesTest/tree/master/3/SystemWidget
在现实生活中,如果我们去画一个图形,就必须知道它的大小和位置。Android系统在绘制View之前也必须对View进行测量,即告诉系统该画一个多大的View。这个过程在onMeasure()方法中进行。
Android系统给我们提供了一个设计短小精悍却功能强大的类----MeasureSpec类,我们可通过它来测量View。MeasureSpec是一个32位的值,其中高2位为测量的模式,低30位为测量的大小,在计算中使用位运算的原因是为了提高并优化速率。
测量模式为以下三种。
EXACTLY
即精确值模式,当我们将控件的layout_width或layout_height属性设定为具体数值时,比如android:layout_width="100dp",或者指定为match_parent属性时(占据父View的大小),系统使用的是EXACTLY模式。AT_MOST
即最大值模式,当控件的layout_width或layout_height属性设定为wrap_content时,控件大小一般随着控件的子控件或内容的变化而变化,此时控件的尺寸只要不超过父控件允许的最大尺寸即可。UNSPECIFIED
这个属性比较奇怪——它不指定其大小测量模式,View想多大就多大,通常在自定义View时才会使用。
View类默认的onMeasure()方法只支持EXACTLY模式,所以如果在自定义控件的时候不重写onMeasure()方法的话,就只能使用EXACTLY模式。控件可以响应你指定的具体宽高值或者是match_parent属性。而如果要让自定义View支持wrap_content属性,那就必须重写onMeasure()方法来指定wrap_content时的大小。
通过MeasureSpec这一个类,我们就获取了View的测量模式和View想要绘制的大小。有了这些信息,我们就可以控制View最后显示的大小。
下面来看一个简单的实例演示如何进行View的测量。首先要重写onMeasure()方法,该方法如下所示。
@Override
protected void onMeasure(int widthMeasureSpec, int heightMeasureSpec) {
        super.onMeasure(widthMeasureSpec, heightMeasureSpec);
}
在IDE中按住Ctrl+鼠标左键点击 super.onMeasure()查看源代码。可以发现系统最终会调用setMeasuredDimension(int measuredWidth, int measuredHeight)方法将测量后的宽高值设置进去,从而完成测量工作。所以在重写onMeasure()方法后,最重要最的工作就是把测量后的宽高值作为参数传给setMeasuredDimension()方法。
通过上面的分析,重写的onMeasure()方法代码如下所示。
@Override
protected void onMeasure(int widthMeasureSpec, int heightMeasureSpec) {
        setMeasuredDimension(
                    measureWidth(widthMeasureSpec),
                    measureHeight(heightMeasureSpec));
}
在onMeasure()方法中,我们调用自定义的measureWidth()方法和measureHeight()方法分别对宽高进行重定义,参数则是宽和高的MeasureSpec对象,MeasureSpec对象根据前面的介绍可以知道它包含了测量的模式和测量值的大小。
下面我们就以measureWidth()方法为例,讲解如何自定义测量值。
第一步,从MeasureSpec对象中提取出具体的测量模式和大小,代码如下所示。
int specMode = MeasureSpec.getMode(widthMeasureSpec);
int specSize = MeasureSpec.getSize(widthMeasureSpec);
接下来通过判断测量的模式,给出不同的测量值。
- 当specMode为EXACTLY时,直接使用指定的specSize即可;
- 当specMode为其他两种模式时,需要给它一个默认的大小。
- 特别地,如果指定wrap_content属性,即AT_MOST模式,则需要提取出我们指定的大小与specSize中最小的一个来作为最后的测量值,
measureWidth()方法的代码如下。这段代码基本可以作为模板代码。
private int measureWidth(int widthMeasureSpec) {
        int result = 0;
        int specMode = MeasureSpec.getMode(widthMeasureSpec);
        int specSize = MeasureSpec.getSize(widthMeasureSpec);

        if (specMode == MeasureSpec.EXACTLY) {
                result = specSize;
        } else {
                result = 200;
                if (specMode == MeasureSpec.AT_MOST) {
                        result = Math.min(result, specSize);
                }
        }
        return result;
}
measureHeight()与measureWidth()方法基本一致,不再给出代码,通过这两个方法,我们就完成了对宽高值得自定义。最后可以在程序中验证以上分析。
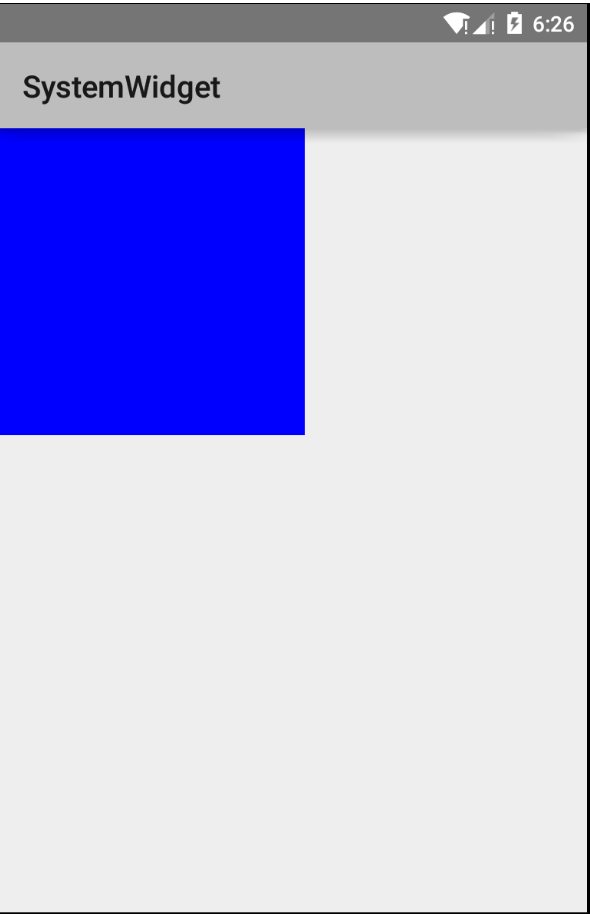
- 在布局文件中首先指定确定的宽高值400px,即EXACTLY模式:
<?xml version="1.0" encoding="utf-8"?>
<LinearLayout xmlns:android="http://schemas.android.com/apk/res/android"
    android:layout_width="match_parent"
    android:layout_height="match_parent"
    android:orientation="vertical">

    <com.imooc.systemwidget.TeachingView
        android:layout_width="400px"
        android:layout_height="400px" />
</LinearLayout>
程序效果如下图所示:
-
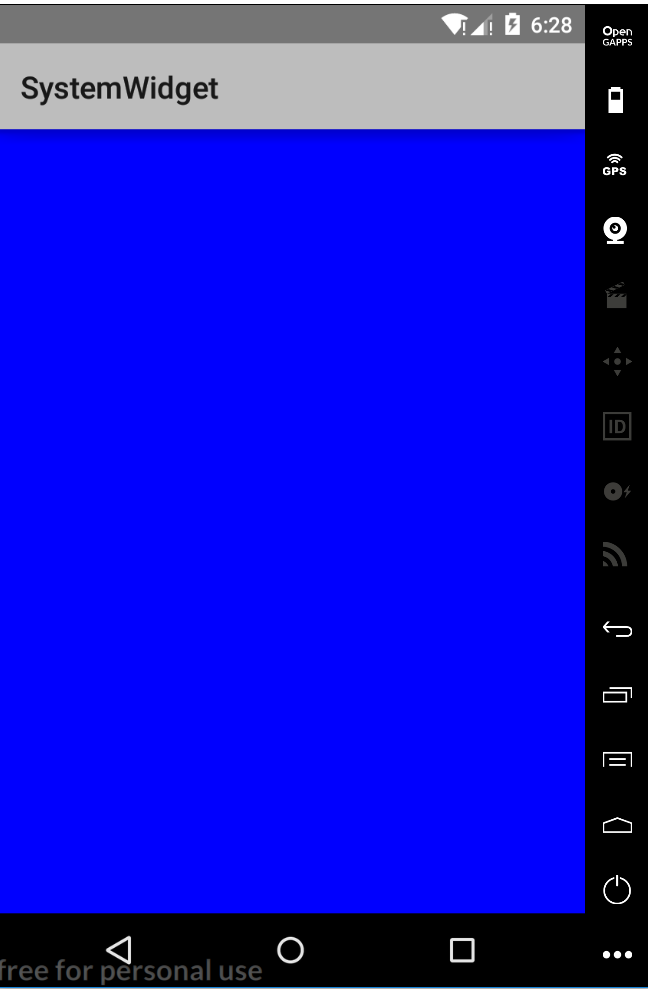
当指定宽高属性为match_parent时,运行效果如下图所示:
-
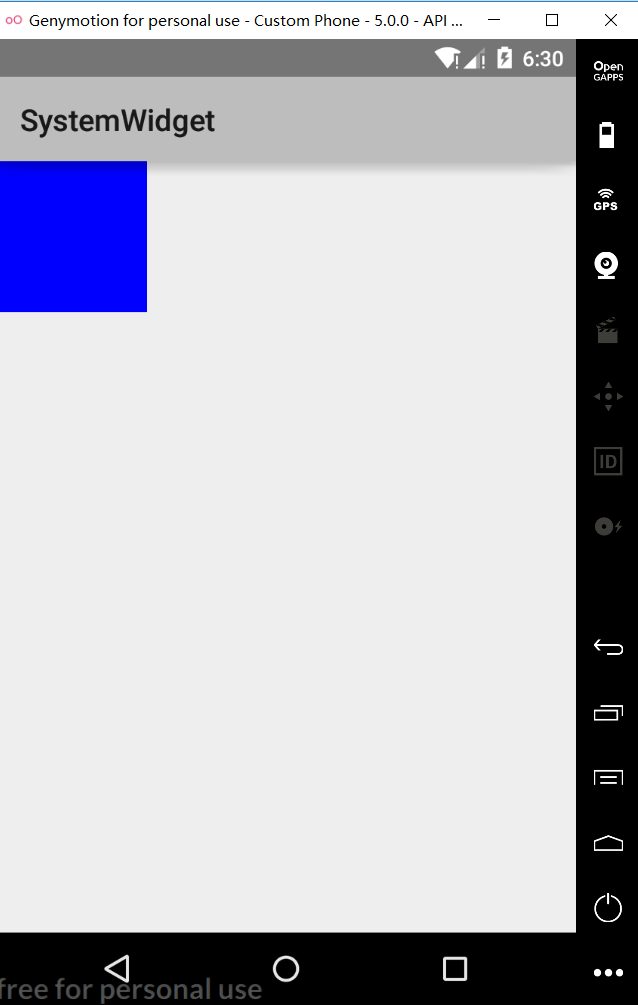
当指定宽高属性为wrap_content时,如果不写onMeasure()方法,那么系统就不知道该使用默认多大尺寸。因此它就会默认填充整个父布局,所以重写onMeasure()方法的目的就是为了能够给View一个wrap_content属性下的默认大小,其运行效果如下图所示:
布局代码:
<?xml version="1.0" encoding="utf-8"?>
<LinearLayout xmlns:android="http://schemas.android.com/apk/res/android"
    android:layout_width="match_parent"
    android:layout_height="match_parent"
    android:orientation="vertical">

    <com.imooc.systemwidget.TeachingView
        android:layout_width="wrap_content"
        android:layout_height="wrap_content" />
</LinearLayout>
在onDraw()方法中添加测试代码(最下面三行):
    @Override
    protected void onDraw(Canvas canvas) {
        super.onDraw(canvas);
        canvas.drawColor(Color.BLUE);//绘制背景;将此行注释,界面将为透明,看不到canvas的大小

        //下面三行code乃调试用
        int width = getWidth();
        int height = getHeight();
        Log.d("xys", "width : " + width + " height : " + height);
    }
}
运行后可见:

200即我们刚刚自定义的测量方法中的默认值。
可以发现,当指定wrap_content属性时,View就会获得一个默认值200px,而不是再填充父布局了。
通过这个实例,相信大家对View的测量不再陌生了,它并不是什么高深莫测的东西,它的整个过程与我们在生活中精确绘图是一样的。
本文对应View.java 全文:
package com.imooc.systemwidget;

import android.content.Context;
import android.graphics.Canvas;
import android.graphics.Color;
import android.util.AttributeSet;
import android.util.Log;
import android.view.View;

//思路:1.在onMeasure中对setMeasuredDimension做个自定义
//      2.绘制;            完;           注意布局xml写法;
public class TeachingView extends View {

    //三个重载构造函数
    public TeachingView(Context context) {
        super(context);
    }

    public TeachingView(Context context, AttributeSet attrs) {
        super(context, attrs);
    }

    public TeachingView(Context context, AttributeSet attrs,
                        int defStyleAttr) {
        super(context, attrs, defStyleAttr);
    }

    @Override
    protected void onMeasure(int widthMeasureSpec,
                             int heightMeasureSpec) {

//      protected final void setMeasuredDimension(int measuredWidth, int measuredHeight)
        setMeasuredDimension(
                //引用
                measureWidth(widthMeasureSpec),
                measureHeight(heightMeasureSpec));
    }

    //自定义两个测量方法
    private int measureWidth(int measureSpec) {
        int result = 0;
        int specMode = MeasureSpec.getMode(measureSpec);
        int specSize = MeasureSpec.getSize(measureSpec);

        if (specMode == MeasureSpec.EXACTLY) {
            result = specSize;
        } else {
            result = 200;
            if (specMode == MeasureSpec.AT_MOST) {
                result = Math.min(result, specSize);
            }
        }
        return result;
    }

    private int measureHeight(int measureSpec) {
        int result = 0;
        int specMode = MeasureSpec.getMode(measureSpec);
        int specSize = MeasureSpec.getSize(measureSpec);

        if (specMode == MeasureSpec.EXACTLY) {
            result = specSize;
        } else {
            result = 200;
            if (specMode == MeasureSpec.AT_MOST) {
                result = Math.min(result, specSize);
            }
        }
        return result;
    }

    @Override
    protected void onDraw(Canvas canvas) {
        super.onDraw(canvas);
        canvas.drawColor(Color.BLUE);//绘制背景;将此行注释,界面将为透明,看不到canvas的大小

        //下面三行code乃调试用
        int width = getWidth();
        int height = getHeight();
        Log.d("xys", "width : " + width + " height : " + height);
    }
}
内容参考自Blankj