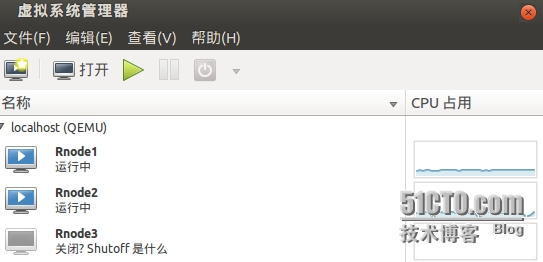
由于使用的是ubuntu13.04平台,接下来就在ubuntu中做相关的LVM快照。在redhat平台也是类似,就是使用root身份做如下操作。
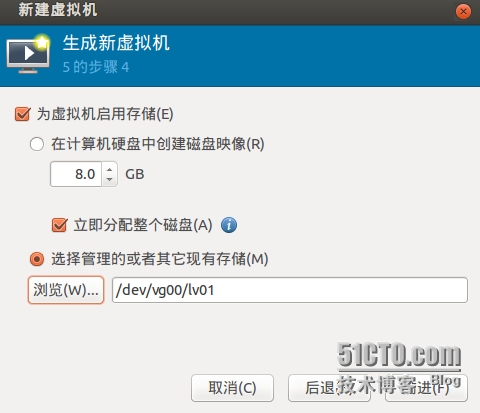
在安装虚拟机的过程当中我们使用lvm逻辑卷作为kvm虚拟机的硬盘,这样才能使用LVM的快照功能:
创建LVM逻辑卷:sudo fdisk /dev/sda3(分区,这里就不在详细介绍)
Disk /dev/sda: 160.0 GB, 160041885696 bytes
255 heads, 63 sectors/track, 19457 cylinders, total 312581808 sectors
Units = sectors of 1 * 512 = 512 bytes
Sector size (logical/physical): 512 bytes / 512 bytes
I/O size (minimum/optimal): 512 bytes / 512 bytes
Disk identifier: 0x25c225c1
Device Boot Start End Blocks Id System
/dev/sda1 * 2048 391167 194560 83 Linux
/dev/sda2 393214 117268479 58437633 5 Extended
/dev/sda3 117268480 312581807 97656664 83 Linux
/dev/sda4 391168 393213 1023 83 Linux
/dev/sda5 393216 16392191 7999488 82 Linux swap / Solaris
/dev/sda6 16394240 117268479 50437120 8e Linux LVM
sudo partprobe
sudo pvcreate /dev/sda3
sudo vgcreate vg00 /dev/sda3
sudo lvcreate -L 20G -n lv01 vg00 (创建一个centos的逻辑卷给装系统使用)
安装kvm虚拟机:
使用virt-manager来管理kvm虚拟机。
lvcreate -L 2G -s -n lv02 /dev/vg00/lv01
(一般快照大小只要为被快照的逻辑卷的15~20%就可以了)
zym@zym-TOP2:~$ ls /dev/vg00/lv0
lv01 lv02 lv03 lv04 lv05 lv06 lv07 lv08
zym@zym-TOP2:~$ ls /etc/libvirt/qemu/
networks/ Rnode1.xml Rnode3.xml Rnode5.xml Rnode7.xml
node1.xml Rnode2.xml Rnode4.xml Rnode6.xml Rnode8.xml
最后修改kvm的配置文件: vim /etc/libvirt/qemu/Rnode2.xml
zym@zym-TOP2:~$ sudo cat /etc/libvirt/qemu/Rnode2.xml
<!--
WARNING: THIS IS AN AUTO-GENERATED FILE. CHANGES TO IT ARE LIKELY TO BE
OVERWRITTEN AND LOST. Changes to this xml configuration should be made using:
virsh edit Rnode2
or other application using the libvirt API.
-->
<domain type='kvm'>
<name>Rnode2</name> 改文件名
<uuid>569634c8-4d1e-9623-32fe-3553399f062d</uuid> 改uuid 随便改一个数字或字母
<memory unit='KiB'>224288</memory> 改内存 小一点 虚拟机多了放内存不够
<currentMemory unit='KiB'>224288</currentMemory>
<vcpu placement='static'>2</vcpu>
<os>
<type arch='i686' machine='pc-i440fx-1.4'>hvm</type>
<boot dev='hd'/>
</os>
<features>
<acpi/>
<apic/>
<pae/>
</features>
<clock offset='utc'/>
<on_poweroff>destroy</on_poweroff>
<on_reboot>restart</on_reboot>
<on_crash>restart</on_crash>
<devices>
<emulator>/usr/bin/kvm-spice</emulator>
<disk type='block' device='disk'>
<driver name='qemu' type='raw'/>
<source dev='/dev/vg00/lv02'/>
修改成快照名 就是lvcreate -L 2G -s -n lv02 /dev/vg00/lv01
<target dev='hda' bus='ide'/>
<address type='drive' controller='0' bus='0' target='0' unit='0'/>
</disk>
<disk type='block' device='cdrom'>
<driver name='qemu' type='raw'/>
<target dev='hdc' bus='ide'/>
<readonly/>
<address type='drive' controller='0' bus='1' target='0' unit='0'/>
</disk>
<controller type='usb' index='0'>
<address type='pci' domain='0x0000' bus='0x00' slot='0x01' function='0x2'/>
</controller>
<controller type='ide' index='0'>
<address type='pci' domain='0x0000' bus='0x00' slot='0x01' function='0x1'/>
</controller>
<interface type='network'>
<mac address='52:54:20:6e:41:ea'/> 改mac地址 随便改一数字
<source network='default'/>
<address type='pci' domain='0x0000' bus='0x00' slot='0x03' function='0x0'/>
</interface>
<serial type='pty'>
<target port='0'/>
</serial>
<console type='pty'>
<target type='serial' port='0'/>
</console>
<input type='mouse' bus='ps2'/>
<graphics type='vnc' port='-1' autoport='yes'/>
<sound model='ich6'>
<address type='pci' domain='0x0000' bus='0x00' slot='0x04' function='0x0'/>
</sound>
<video>
<model type='cirrus' vram='9216' heads='1'/>
<address type='pci' domain='0x0000' bus='0x00' slot='0x02' function='0x0'/>
</video>
<memballoon model='virtio'>
<address type='pci' domain='0x0000' bus='0x00' slot='0x05' function='0x0'/>
</memballoon>
</devices>
</domain>
修改文件完毕
zym@zym-TOP2:~$ sudo virsh define /etc/libvirt/qemu/Rnode2.xml
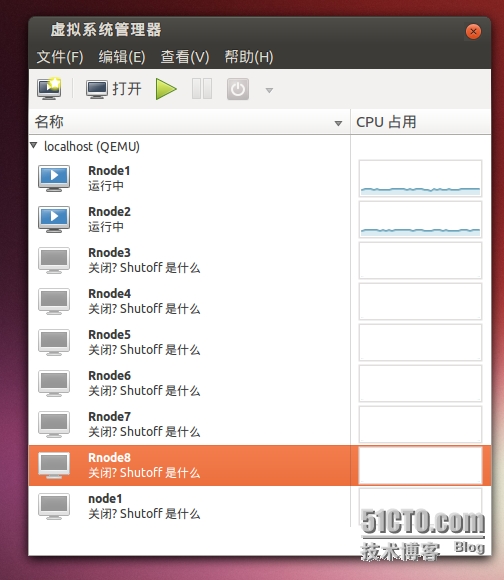
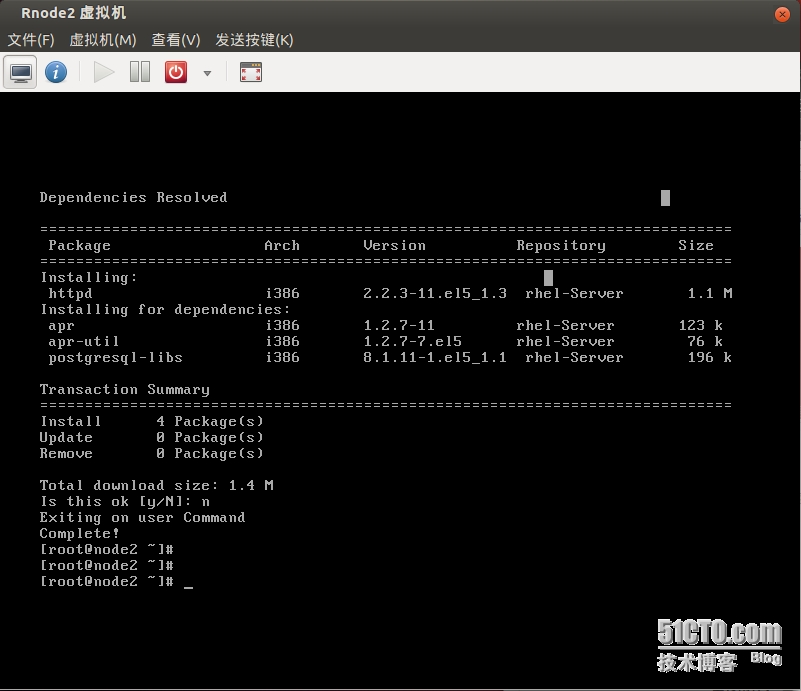
虚拟机中就会有 Rnode2 这个了
二、快速制造多台虚拟机
1、为原虚拟机所在的lv做一个快照。
lvcreate -L 2G -s -n lv02 /dev/vg00/lv01 (一般快照大小是宿主的15-20%)
2、复制/etc/libvirt/qemu/虚拟机名.xml并改名为/etc/libvirt/qemu/虚拟机名1.xml
cp /etc/libvirt/qemu/虚拟机名.xml /etc/libvirt/qemu/虚拟机名1.xml
3、修改 /etc/libvirt/qemu/虚拟机名1.xml
vim /etc/libvirt/qemu/虚拟机1.xml (修改一下几项,随便改只要与原来不一样就可以了。)比如:
<name>Rnode1</name>
<uuid>395ae05e-c118-e460-4de4-7f58e08f8aa1</uuid>
<source dev=‘虚拟机快照名’>
<mac address='52:54:00:a7:11:cb'/>
4、virsh define 虚拟机名1.xml (定义虚拟机)
5、virsh start 虚拟机名1 (新的虚拟机就可以使用啦。呵呵)
我创建了8个虚拟机 都能用 可同时打开
本文转自zhang25yun51CTO博客,原文链接:http://blog.51cto.com/1585654/1377636 ,如需转载请自行联系原作者
