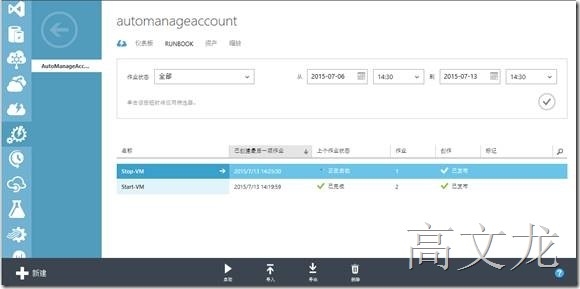
目前windows azure的自动化服务在国际版本支持稍微好点,因为在国内版本上配置脚本后,可以正常执行脚本来完成相关执行的任务(经过跟客服沟通后,说目前windows azure 自动化服务属于预览版,功能还不太完善),但是脚本不生效。所以呢申请了一个国际版本的windows azure账户进行测试。国际版本的windows azure和国内版本的windows azure还是有一定差别的,具体就不多介绍了。我们看到windows azure登陆在功能模块有还很多看类似的功能,比如azure的自动化服务和azure的计划任务是有一定差别的,对于计划任务在windowsazure上只能执行三种类型,http、https、等get方法的程序任务,具体下一篇介绍,而azure的自动化服务只能运行ps1的脚本程序;azure自动化服务中目前属于预览功能阶段,因为目前自动化功能的执行任务操作,只能选择指定时间段来执行,无法更详细的执行,比如是每周或者每月或者每天执行多次的选项,后期应该会更新该功能。具体操作见下:
azure自动化账户下可以运行多个runbook,可一个runbook只能选择一个时间段,同时一个runbook下可以定义多个脚本程序来执行不同的任务。同样如果要执行自动关机和自动开机的话,我们需要创建一个自动化账户,然后在自动化账户下创建两个runbook,来设置在不同时间下断执行不同的脚本程序。
http://www.windowsazure.cn/blog/2015/04/16/azure-automation
https://technet.microsoft.com/library/dn469262.aspx
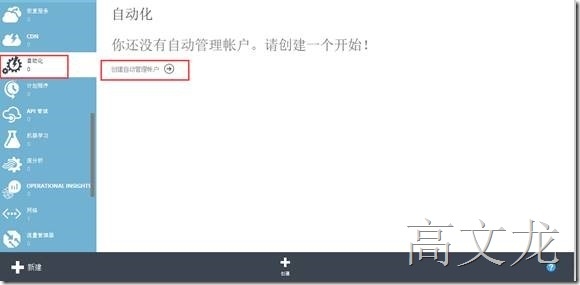
所以我们单机自动化,首先需要创建一个自动化账户;
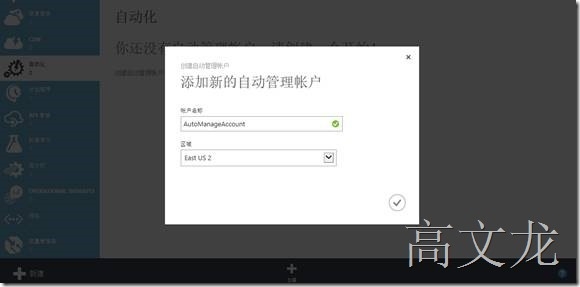
我们创建自动管理账户
自定义自动管理账户名称及区域:
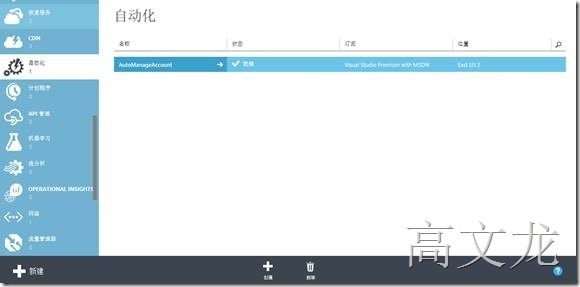
创建完成
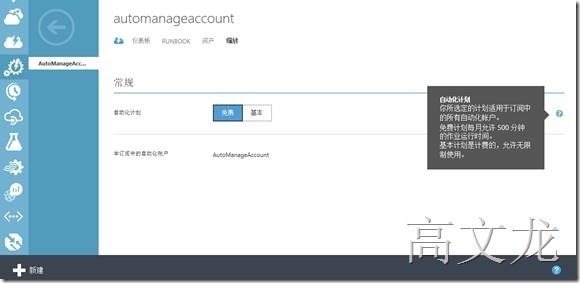
我们单击小箭头进入自动化管理账户;发现刚才新建的自动化账户下的自动化计划是免费的。但是免费的每月只能运行500分钟的作业运行时间==30天*24小时=720分钟,所以是不够的。除非不要设置长时间,而收费的每月运行作业运行时间是无限制的。
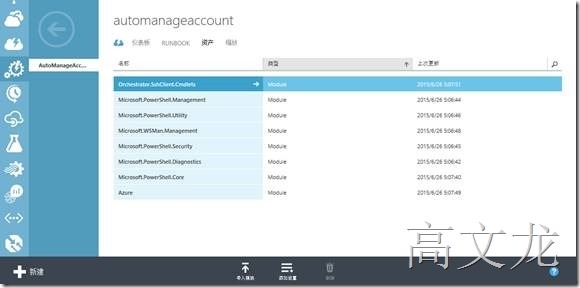
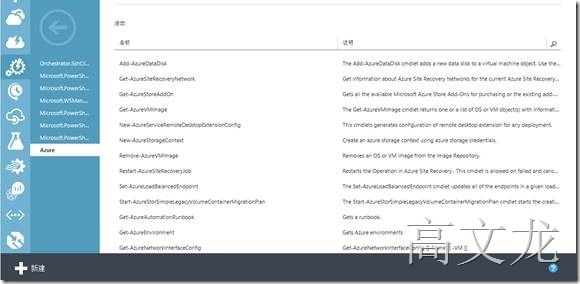
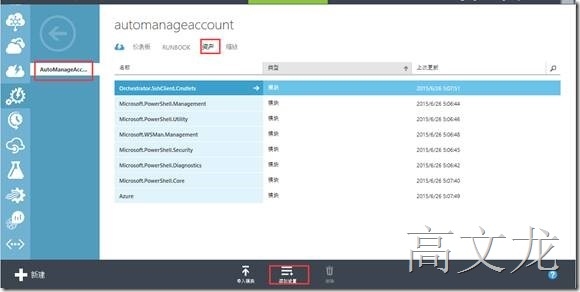
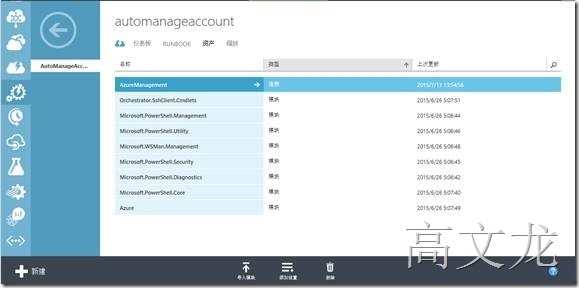
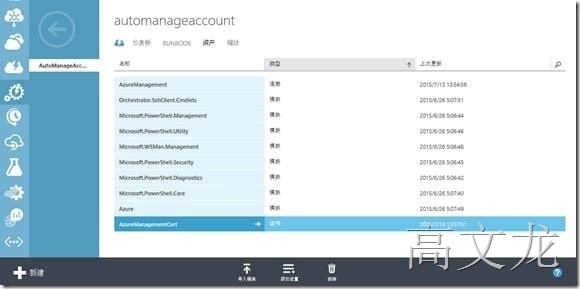
接下来我们切换到资产下可以看见关于运行的一些模块,我们同样单击模块内部查看可以看见相应的一些执行命令
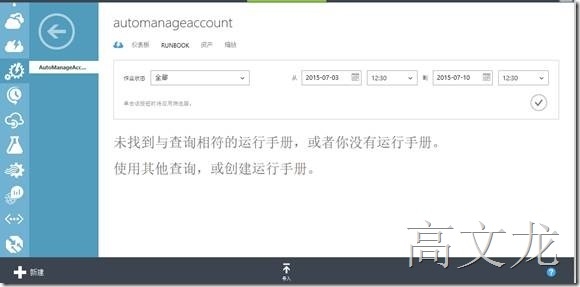
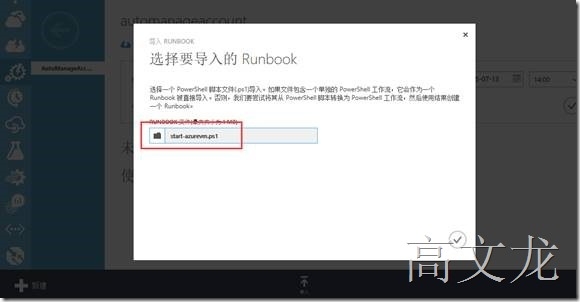
我们再次进入runbook选项,单击导入即可
提示将会选择一个powershell脚本文件。
所以我们提前需要编辑好一个powershell脚本文件:因为我们要做定时启动和定时关机,所以我们需要两个脚本,我们先设置一个
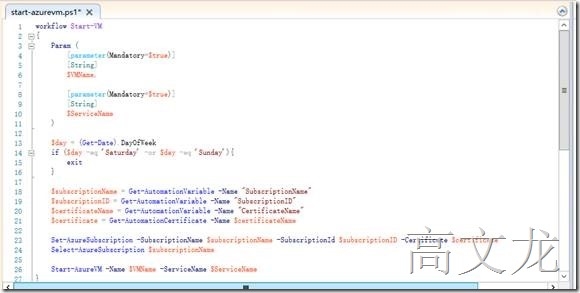
接着我们定义启动脚本:
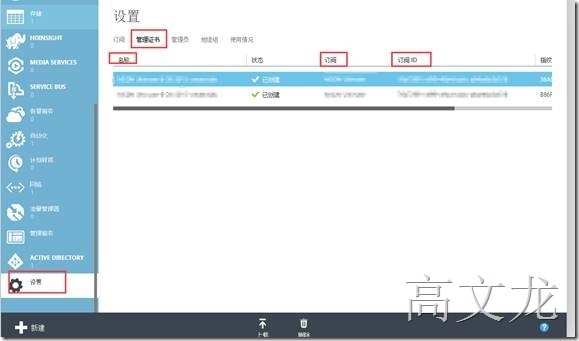
需要注意的是:脚本里面需要根据自己的环境修改三个变量来完成脚本执行:
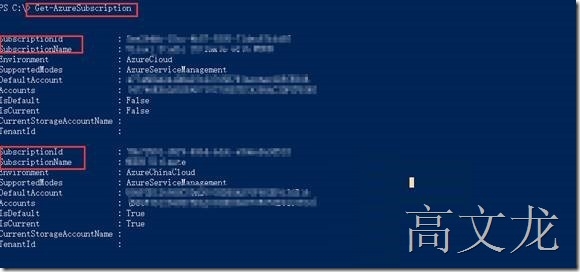
我们通过powershell命令来查看相关的信息:
Get-azuresubscription 可查看subscriptionname、subscriptionid等信息
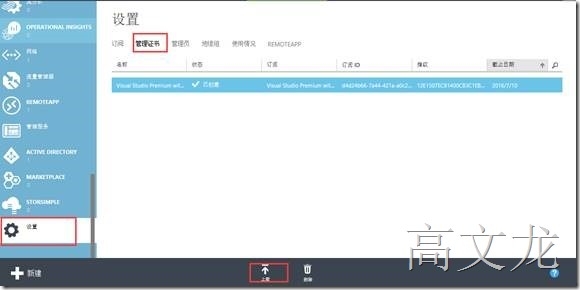
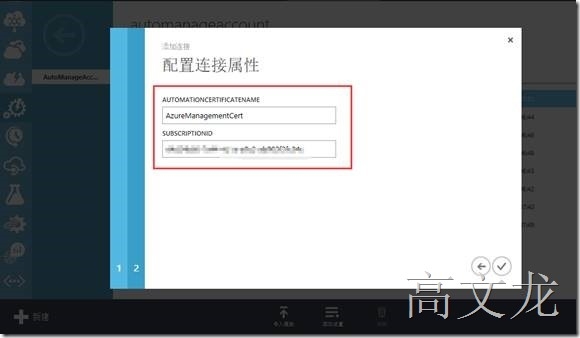
其实我们可以通过设置页面的---管理证书下看见所需要的所有定义内容:订阅id、订阅名称、及证书名称
|
1
2
3
4
5
6
7
8
9
10
11
12
13
14
15
16
17
18
19
20
21
22
|
workflow Start-VM
{
Param (
[parameter(Mandatory=$
true
)]
[String]
$VMName,
[parameter(Mandatory=$
true
)]
[String]
$ServiceName
)
$day = (Get-Date).DayOfWeek
if
($day -
eq
'Saturday'
-or $day -
eq
'Sunday'
){
exit
}
$subscriptionName = Get-AutomationVariable -Name
"SubscriptionName"
$subscriptionID = Get-AutomationVariable -Name
"SubscriptionID"
$certificateName = Get-AutomationVariable -Name
"CertificateName"
$certificate = Get-AutomationCertificate -Name $certificateName
Set-AzureSubscription -SubscriptionName $subscriptionName -SubscriptionId $subscriptionID -Certificate $certificate
Select-AzureSubscription $subscriptionName
Start-AzureVM -Name $VMName -ServiceName $ServiceName
}
|
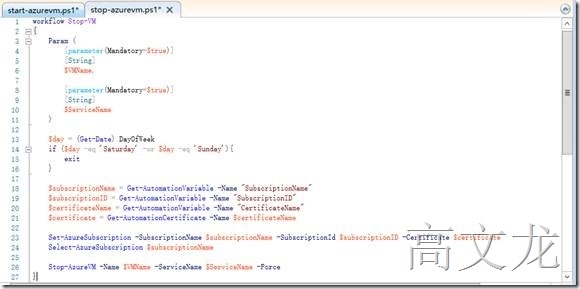
关机脚本:
|
1
2
3
4
5
6
7
8
9
10
11
12
13
14
15
16
17
18
19
20
21
22
|
workflow Stop-VM
{
Param (
[parameter(Mandatory=$
true
)]
[String]
$VMName,
[parameter(Mandatory=$
true
)]
[String]
$ServiceName
)
$day = (Get-Date).DayOfWeek
if
($day -
eq
'Saturday'
-or $day -
eq
'Sunday'
){
exit
}
$subscriptionName = Get-AutomationVariable -Name
"SubscriptionName"
$subscriptionID = Get-AutomationVariable -Name
"SubscriptionID"
$certificateName = Get-AutomationVariable -Name
"CertificateName"
$certificate = Get-AutomationCertificate -Name $certificateName
Set-AzureSubscription -SubscriptionName $subscriptionName -SubscriptionId $subscriptionID -Certificate $certificate
Select-AzureSubscription $subscriptionName
Stop-AzureVM -Name $VMName -ServiceName $ServiceName -Force
}
|
脚本文件定义好后,我们需要将脚本导入到runbook中。
导入完成:
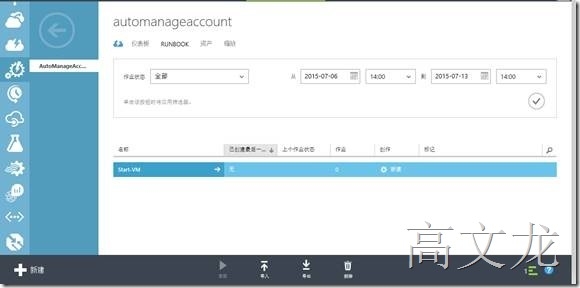
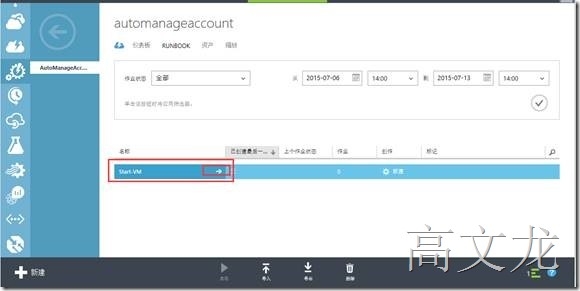
我们通过单击小箭头进入star-azurevm的runbook中
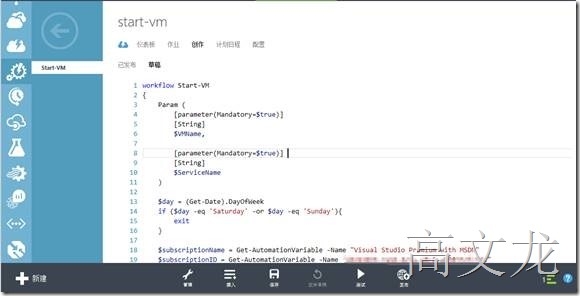
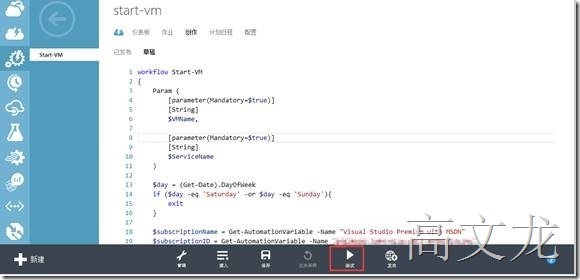
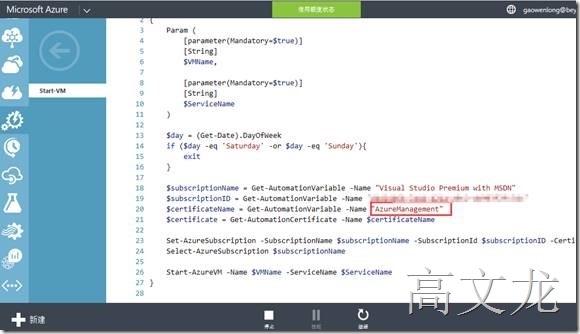
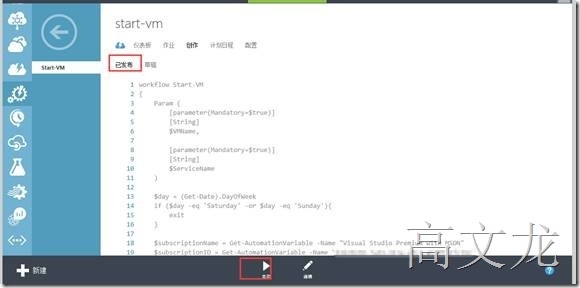
我们可以单击创作查看代码:
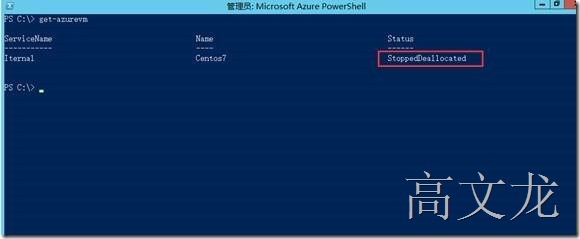
接下来我们为了保险起见还是测试一下:首先我们保证当前azure下的vm是关机的
Get-azurevm 查看当前订阅下的vm的运行状态
然后我们测试脚本
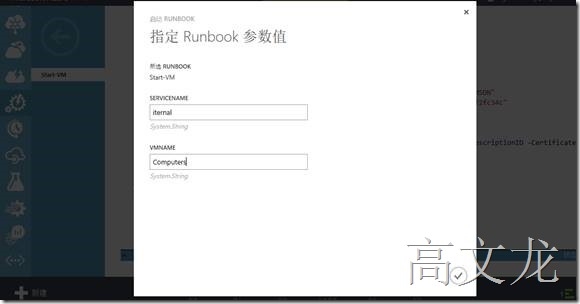
我们输入需要操作的vmname及servicename; 这些信息可以通过get-azurevm进行查看
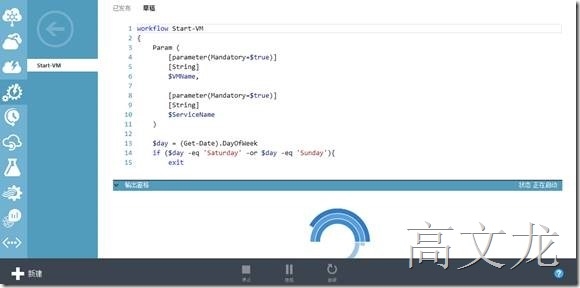
正在执行代码:
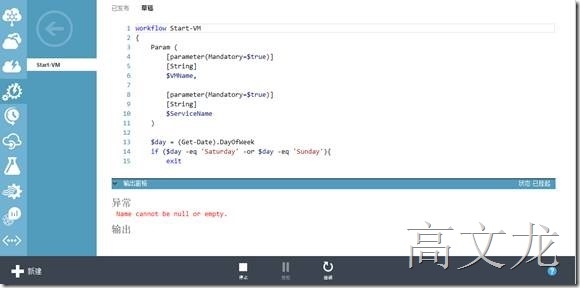
运行失败
经过查找文档后,我们需要上传一张证书,具体见下:
https://blogs.endjin.com/2015/02/generating-and-using-a-certificate-to-authorise-azure-automation/
证书操作相关文档:
https://msdn.microsoft.com/en-us/library/azure/gg551722.aspx
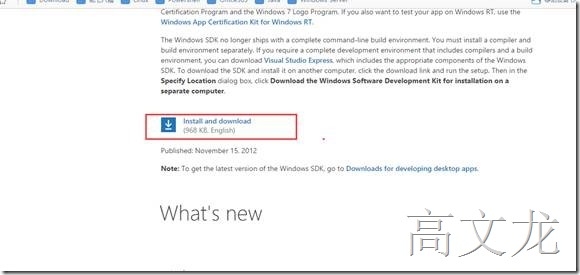
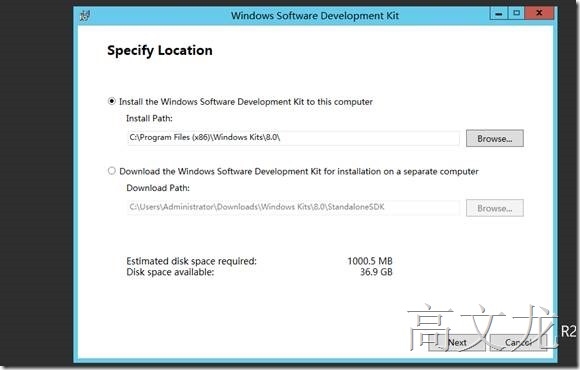
You will need the makecert.exe to create a self-signed certificate. This tool is available in the Windows Software Development Kit (SDK) for Windows 8 http://msdn.microsoft.com/en-us/library/windows/desktop/hh852363.aspxor in Visual Studio. I’ll show the process from the Windows SDK.
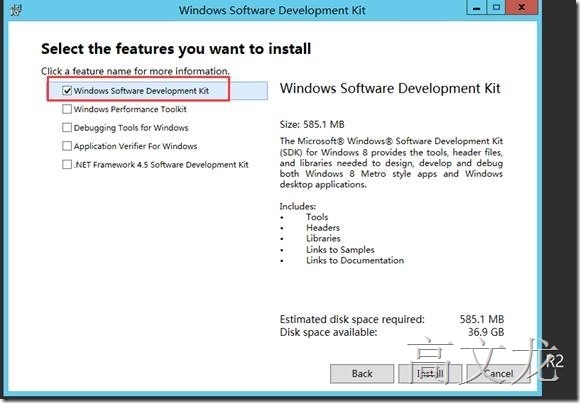
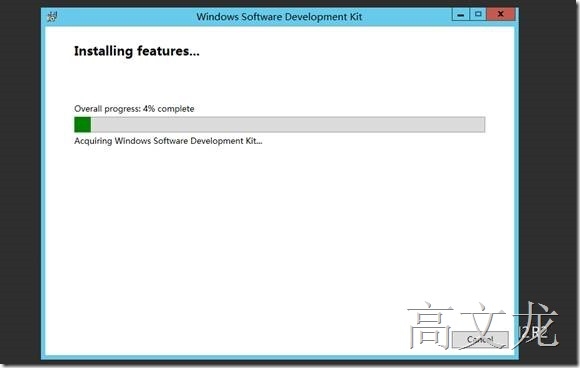
You only need to install the Windows Software Development Kit so you can deselect the others since makecert.exe is available in the base install.
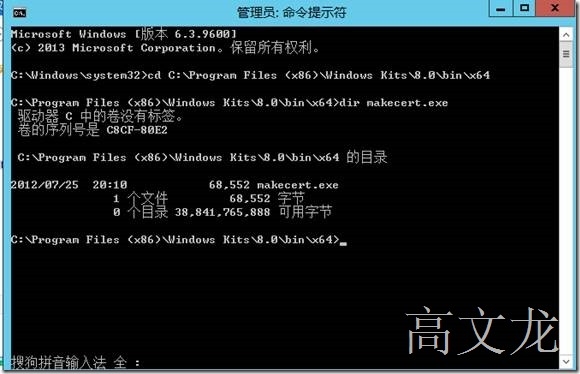
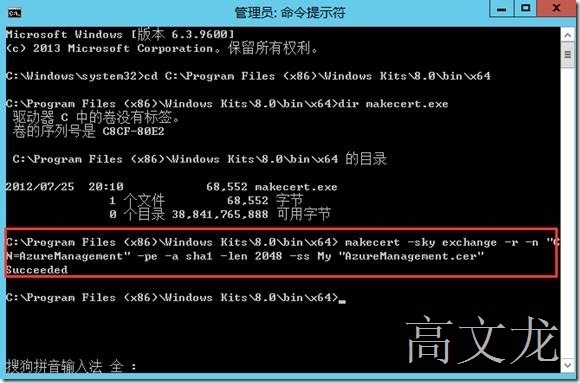
Create a self-signed certificate that you will add to your Azure subscription and use when managing services from Azure Automation. You can learn more about the management certificate on http://msdn.microsoft.com/en-us/library/azure/gg551722.aspx. Open up an administrator command prompt as shown below and change directory to the location of makecert.exe.
|
1
|
Cd C:\Program Files (x86)\Windows Kits\8.0\bin\x64
|
C:\Program Files (x86)\Windows Kits\8.0\bin\x64>makecert -sky exchange -r –n "CN=AzureManagement" -pe -a sha1 -len 2048 -ss My "AzureManagement.cer"
Note: Copy / pasting the above line of code may not work. If you hit the error "Too many parameters," try typing it manually.
|
1
|
makecert -sky exchange -r -n
"CN=AzureManagement"
-pe -a sha1 -len 2048 -ss My
"AzureManagement.cer"
|
On a Windows 8.1 or Windows 2012 R2 you can use the built in PowerShell cmdlets to export the certificate with a private key into a pfx file that you can import into the Azure Automation service.
You can read more about this cmdlet on http://technet.microsoft.com/en-us/library/hh848635.aspx.
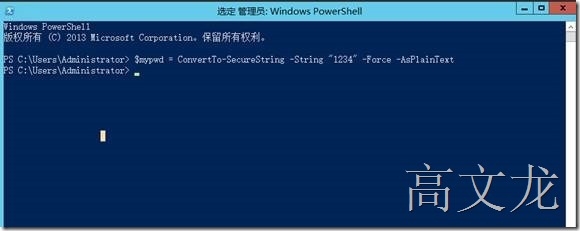
Open up an administrator PowerShell shell and run the following commands:
|
1
2
|
$MyPwd = ConvertTo-SecureString -String
"CbA123321AbC"
-Force –AsPlainText (replacing the password with one that you choose)
$mypwd = ConvertTo-SecureString -String
"1234"
-Force –AsPlainText
|
|
1
|
$AzureCert = Get-ChildItem -Path Cert:\CurrentUser\My | where {$_.Subject -match
"AzureManagement"
}
|
(replacing AzureManagement with the name you gave your certificate in
也可以使用以下命令进行操作
|
1
|
Get-ChildItem -Path cert:\localMachine\my\xxxxxxxxxxxxxxxxxxxxxxx | Export-PfxCertificate -FilePath C:\mypfx.pfx -Password $mypwd
|
注:在以上命令的时候输入cert:\localmachine\my\的是用tab键的时候会出来一组数据,其实我们也可以使用,可以根据自己的需求来写即可
|
1
|
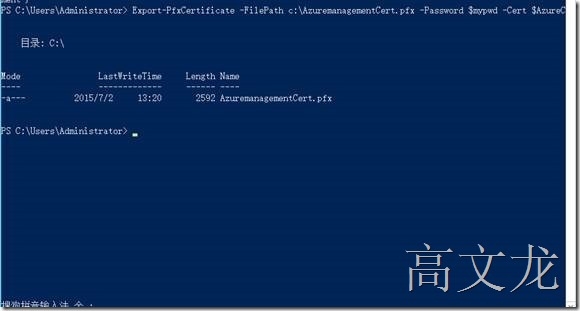
Export-PfxCertificate -FilePath C:\AzureManagementCert.pfx -Password $MyPwd -Cert $AzureCert (This will create the AzureManagementCert.pfx
in
the c:\ drive of your computer)
|
注:我们可以在上面的命令中通过管通符就可以执行查看及导出的操作,在此我分开了。
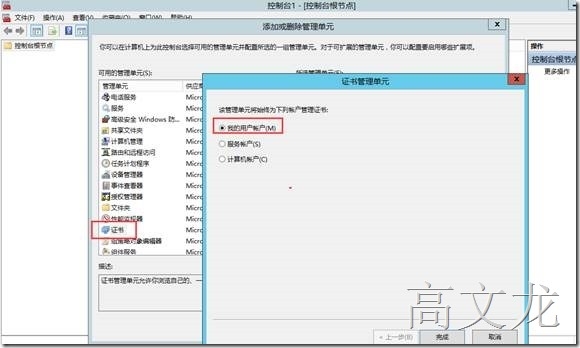
Alternatively, if you want to do this through the UI using the MMC console you can do the below steps:
Select Certificates snap-in for My user account.
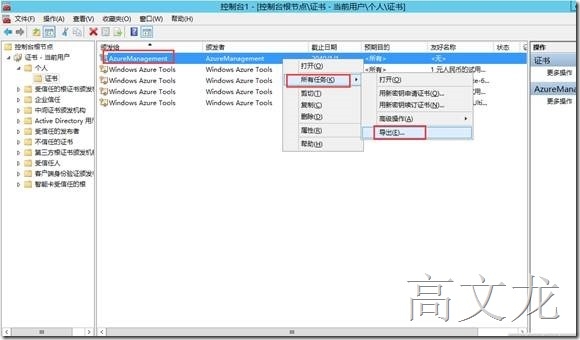
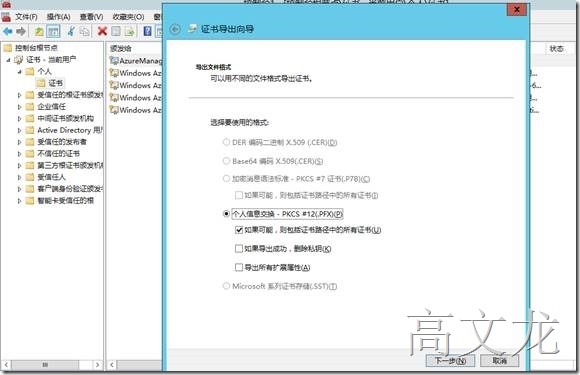
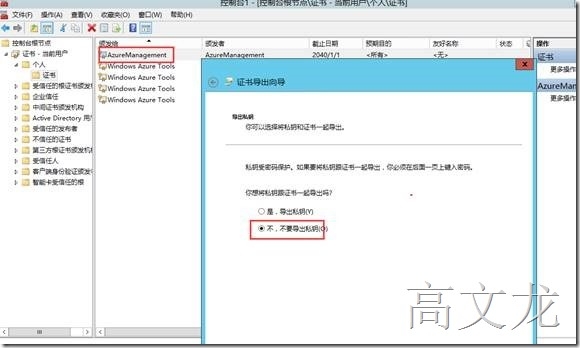
Navigate to Personal\Certificates and right click on the certificate you created and click export.
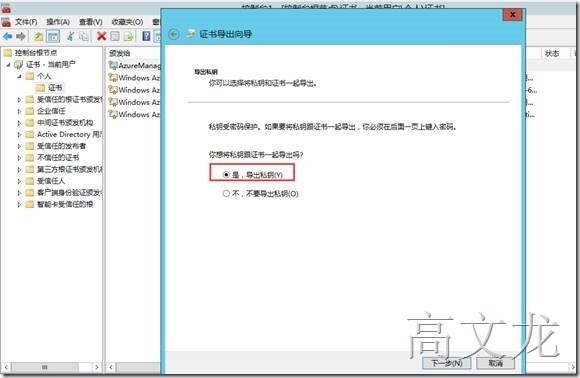
导出私钥
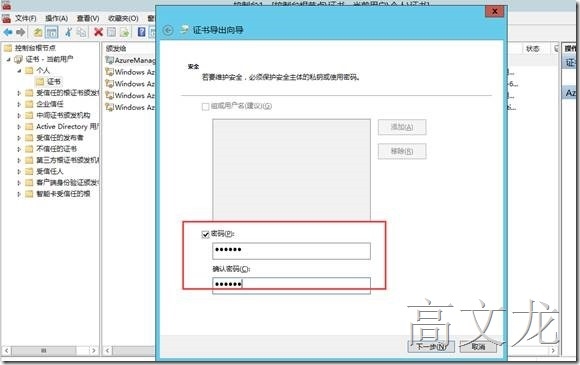
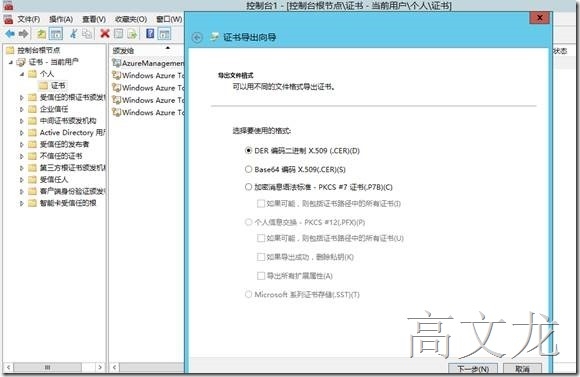
设置一个密码
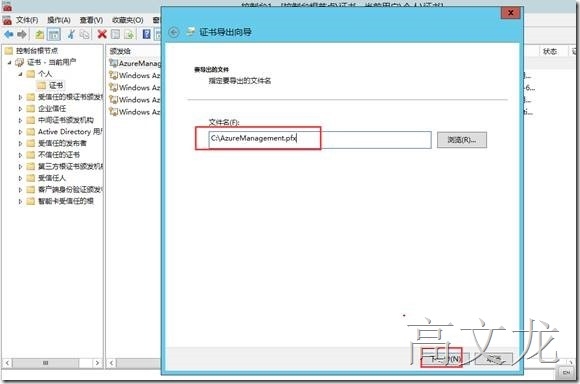
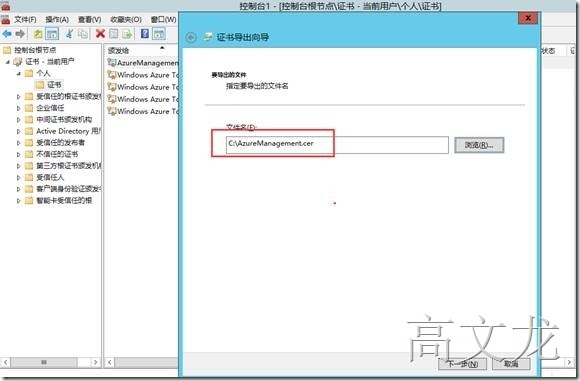
选择导出路径
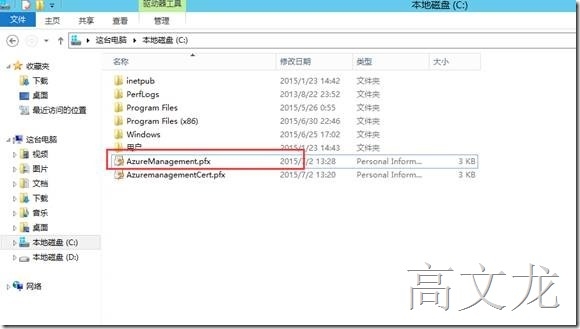
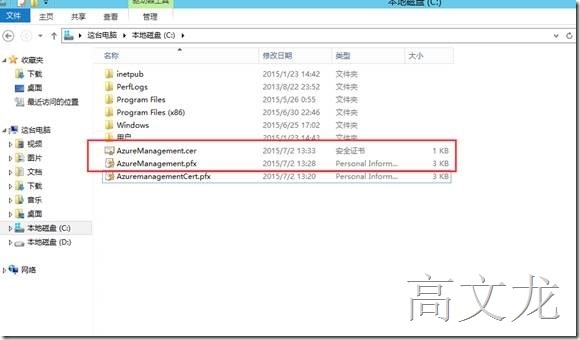
我们用同样的方式再导出一张不带私钥的证书
导出的证书
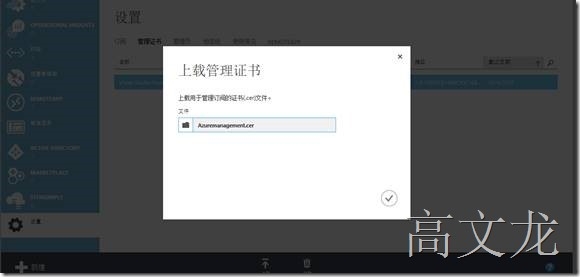
然后我们登陆azure,然后进入设置----证书管理---上载
选择刚才导出的证书
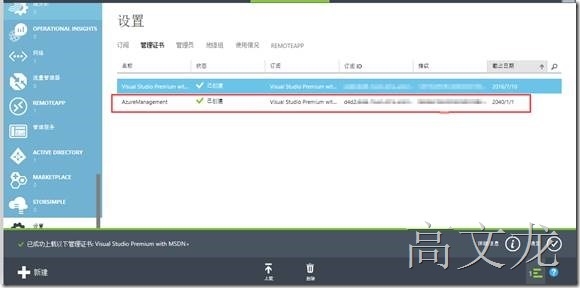
导出完成
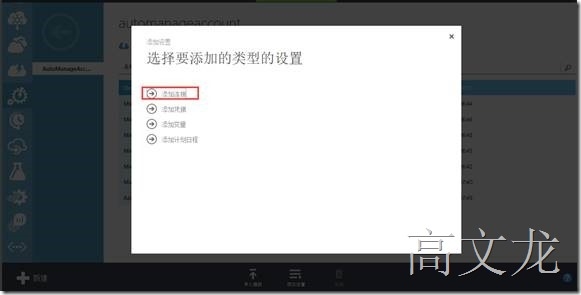
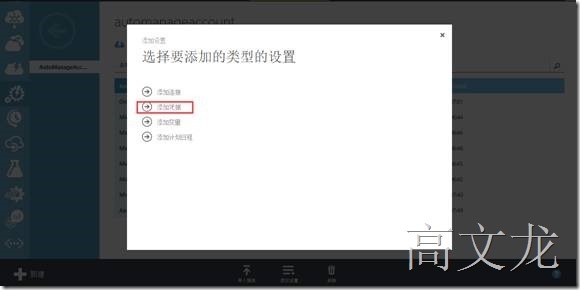
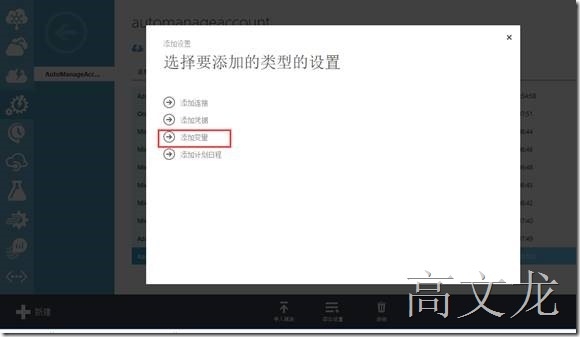
单击进入自动化账户,前提是我们已经创建了自动化管理账户----->资产---->添加设置
选择添加连接
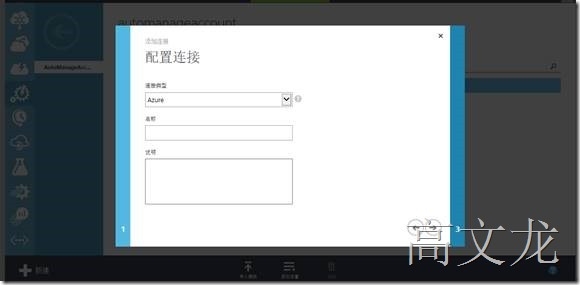
类型选择----Azure
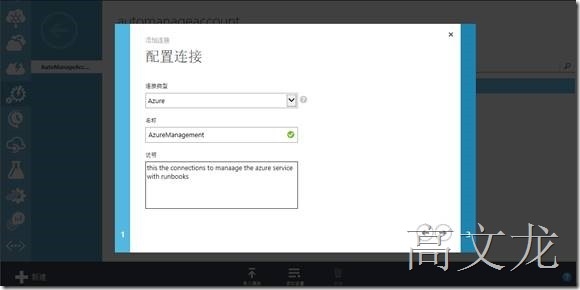
定义连接类型及名称
定义自动化账户证书名称及订阅id
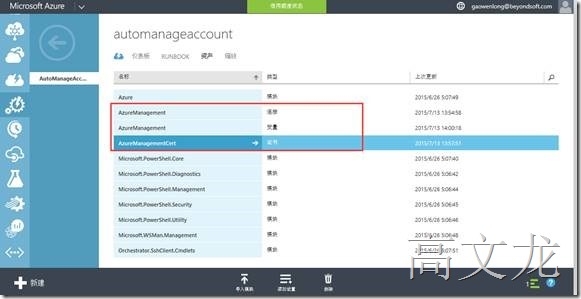
添加完成
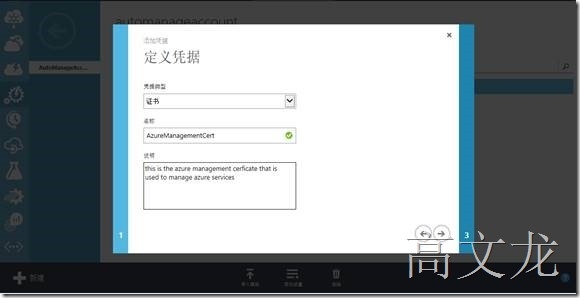
同样我们继续添加设置---选择凭据
选择类型为----证书;然后定义名称
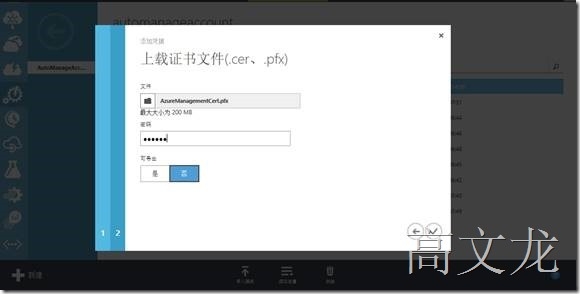
选择导出的带私钥的证书文件
创建完成
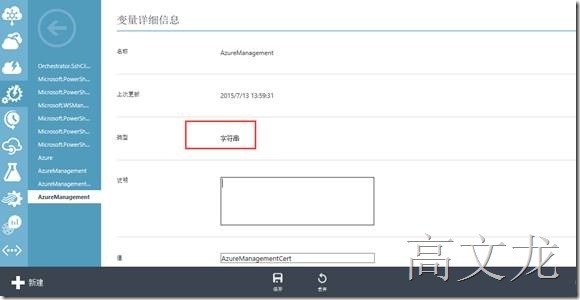
最后我们还需要添加设置----变量
选择字符串类型及定义名称
有了证书我们再试试呢;前提是需要修改代码中的证书名称
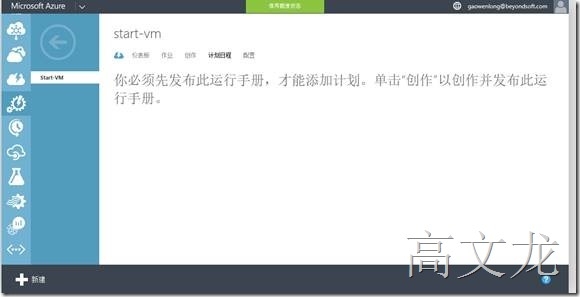
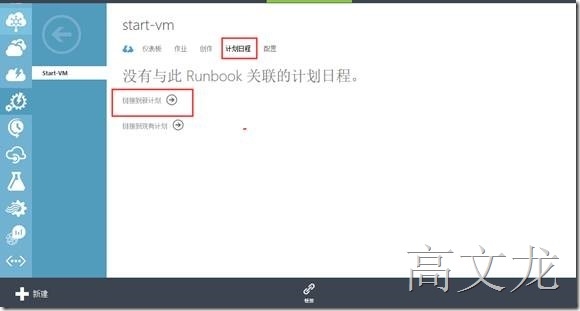
接下来我们需要配置计划日程:提示必须发布此运行手册才可以添加计划
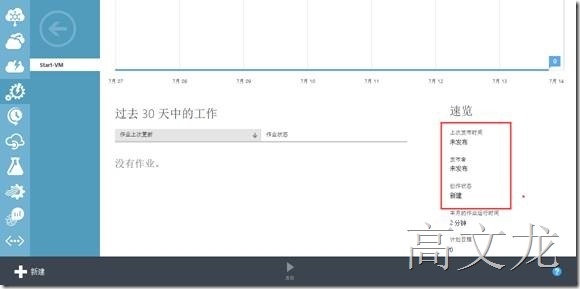
我们单击仪表板,查看确实需要发布的
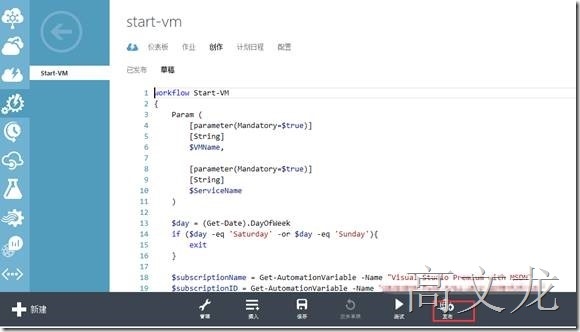
接下来我们单击创作---->发布及完成
发布后,我们发现都可以手动启动该任务了
如果需要修改代码,即可单击编辑即可修改,修改后,还需要重新发布。
我们再次配置计划日程:连接到新计划
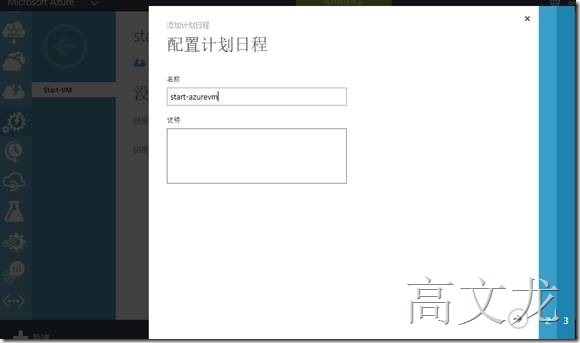
定义名称:
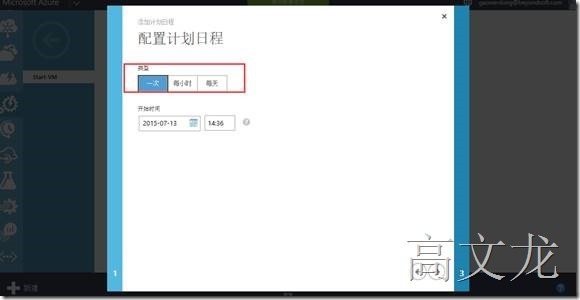
任务计划:
有一次、每小时、每天
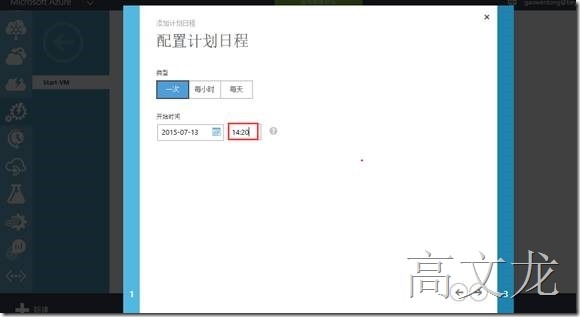
以上计划可以通过自己的真实环境需求来设置,因为我是测试环境,所以设置一次;
因为我现在做实验在14:10,所以我设置为16:20就运行,我们可以看看效果:
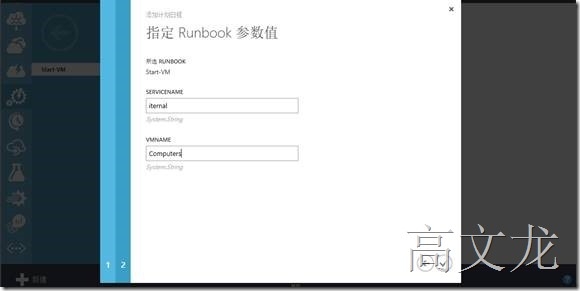
输入serviername及vmname
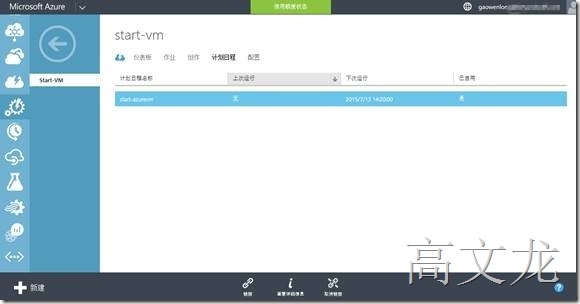
创建完成:
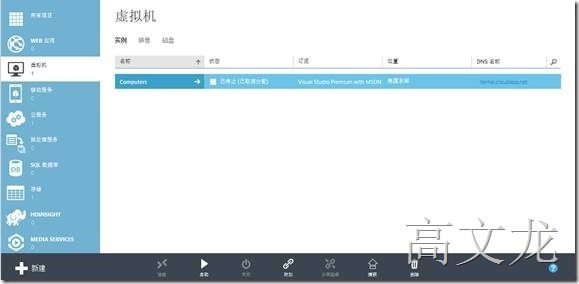
我们首先确认的是windowsazure上vm都是关机状态:
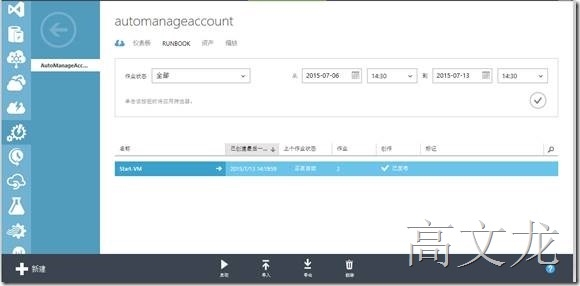
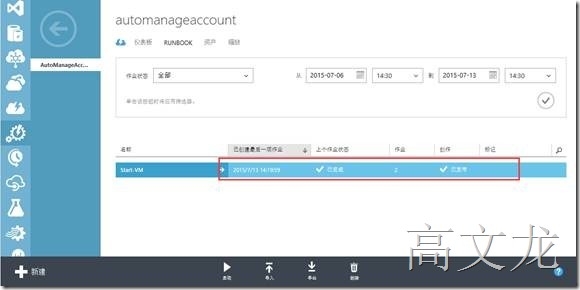
等待完成后,我们查看程序执行代码结果:
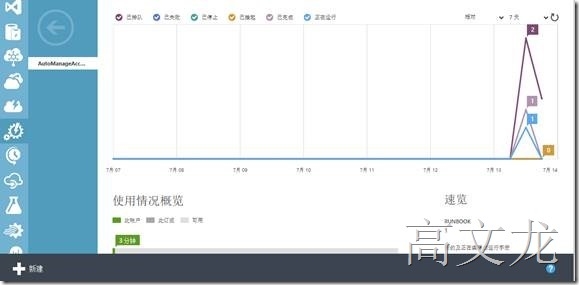
查看仪表盘
然后在start-azurevm内部进行查看作业状态
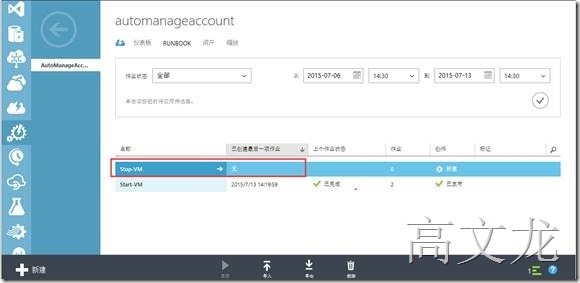
我们同样按照上面的方法操作再次导入一个stop-azurevm的脚本程序
选择stop-azurevm脚本
|
1
2
3
4
5
6
7
8
9
10
11
12
13
14
15
16
17
18
19
20
21
22
|
workflow Start-VM
{
Param (
[parameter(Mandatory=$
true
)]
[String]
$VMName,
[parameter(Mandatory=$
true
)]
[String]
$ServiceName
)
$day = (Get-Date).DayOfWeek
if
($day -
eq
'Saturday'
-or $day -
eq
'Sunday'
){
exit
}
$subscriptionName = Get-AutomationVariable -Name
"订阅名称"
$subscriptionID = Get-AutomationVariable -Name
"订阅id"
$certificateName = Get-AutomationVariable -Name
"证书文件"
$certificate = Get-AutomationCertificate -Name $certificateName
Set-AzureSubscription -SubscriptionName $subscriptionName -SubscriptionId $subscriptionID -Certificate $certificate
Select-AzureSubscription $subscriptionName
Start-AzureVM -Name $VMName -ServiceName $ServiceName
}
|
我们同样按照以上的方法进行配置,发布及计划任务
本文转自 高文龙 51CTO博客,原文链接:http://blog.51cto.com/gaowenlong/1673807,如需转载请自行联系原作者
