Android Sample Apps
The Android SDK includes many sample apps that can help you learn Android by inspecting how different APIs are used to build a mobile application. These sample apps are available for download through the Android SDK Manager. Learn how to easily create Eclipse projects around these sample apps, compile them, and use them in your own projects.
Part 0: Getting Started
This tutorial is for the Java developer just getting started learning Android app development, who is familiar with Eclipse, and who has installed the Android SDK with the Android Developer Plugin for Eclipse. If you are not prepared, see the previous tutorials in this series.
Step 1: Download the Android Samples
The Android SDK Samples can be downloaded using the Android SDK Manager. The samples are organized by the API Level they were designed for, and can be downloaded under the label “Samples for SDK”. On a related note, the Google API add-on downloads tend to come with samples specifically to illustrate their usage.
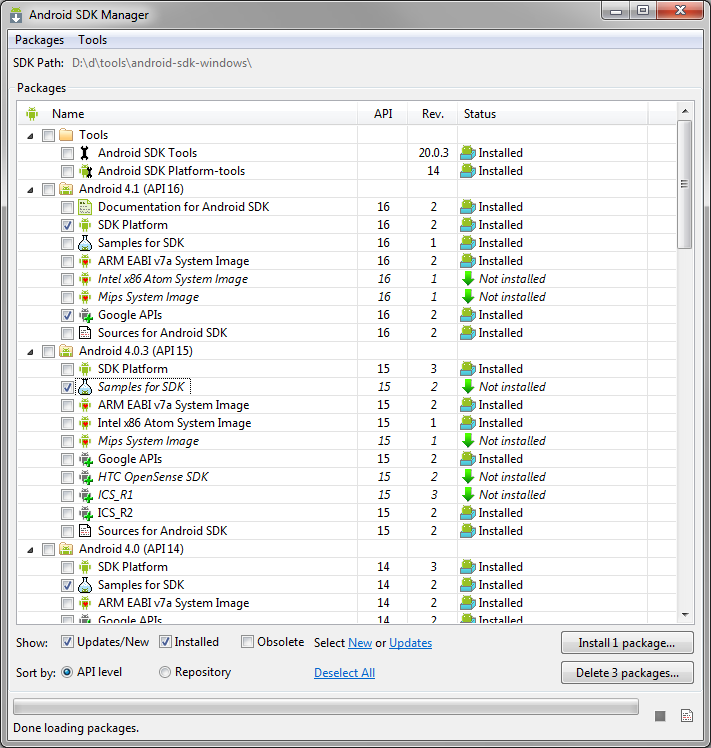
As you’re aware, the Android SDK Manager downloads samples into a directory under your SDK installation. You could use these to start the project. You could even copy them out so you don’t modify the originals. But, that’s not how we’re going to do it! There’s a better way!
Step 2: Start the Sample Project Wizard
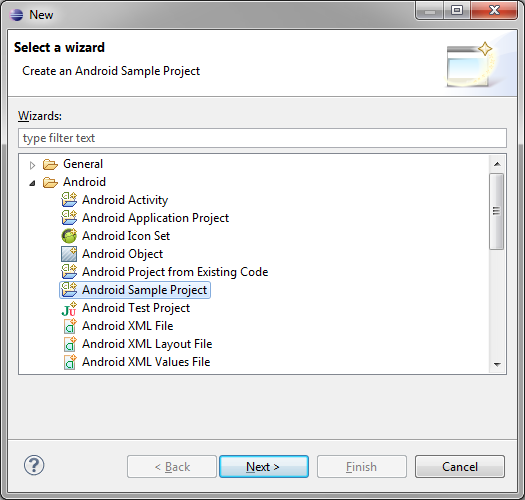
In Eclipse, choose File > New > Other…, then expand the Android folder, and choose “Android Sample Project”.
Step 3: Pick a Build Target
Next, you’ll be presented with a list of build targets. What you see here is directly related to which API Level samples you have installed through the Android SDK Manager. What you see in our screenshot is probably overkill. Few will want to target Android 1.1 (Really).
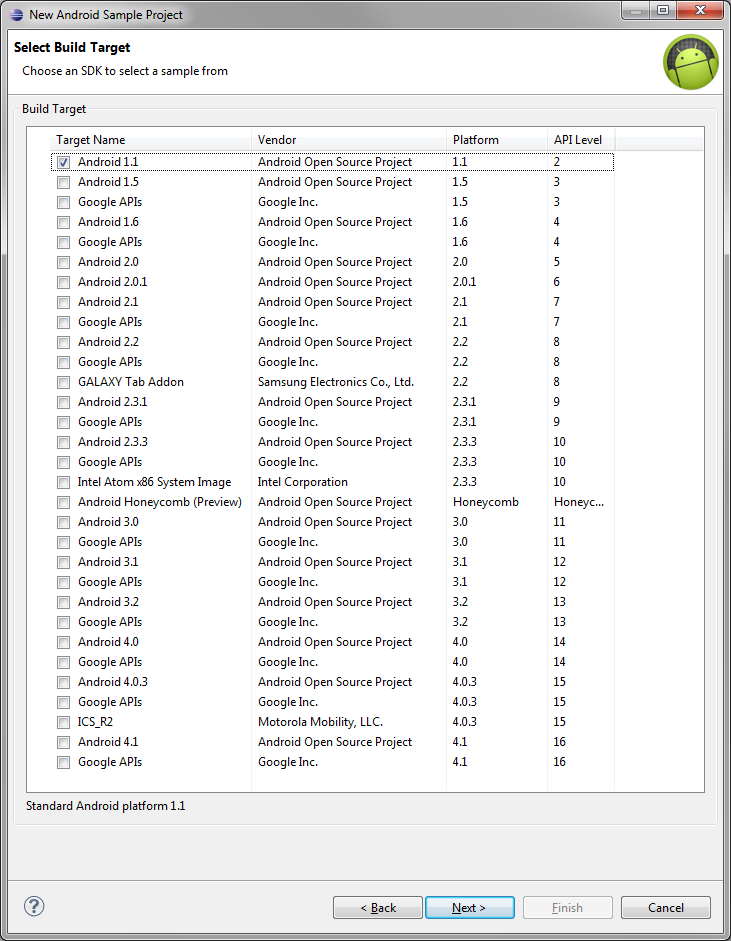
You can only choose one build target for your project. To follow along, choose Android 4.1, Android Open Source Project, which is API Level 16.
Step 4: Pick a Sample Project
On the next screen, you’ll be shown a variety of compatible sample projects to choose from. Projects that end in “> tests” are JUnit test projects that match up to a primary project. They are less interesting for the beginner, so stick to non-test projects for now.
Pick a sample project, then type in a name if you’d like to change it. Changing the name is useful if you’ve already created the sample project once and want to create a new version within the sample Eclipse workspace. To continue following along, pick ApiDemos. We’re naming it “ApiDemo 4.1″ so as not to confuse it with other ApiDemos samples from other SDK versions.

Step 5: Explore a Sample Project
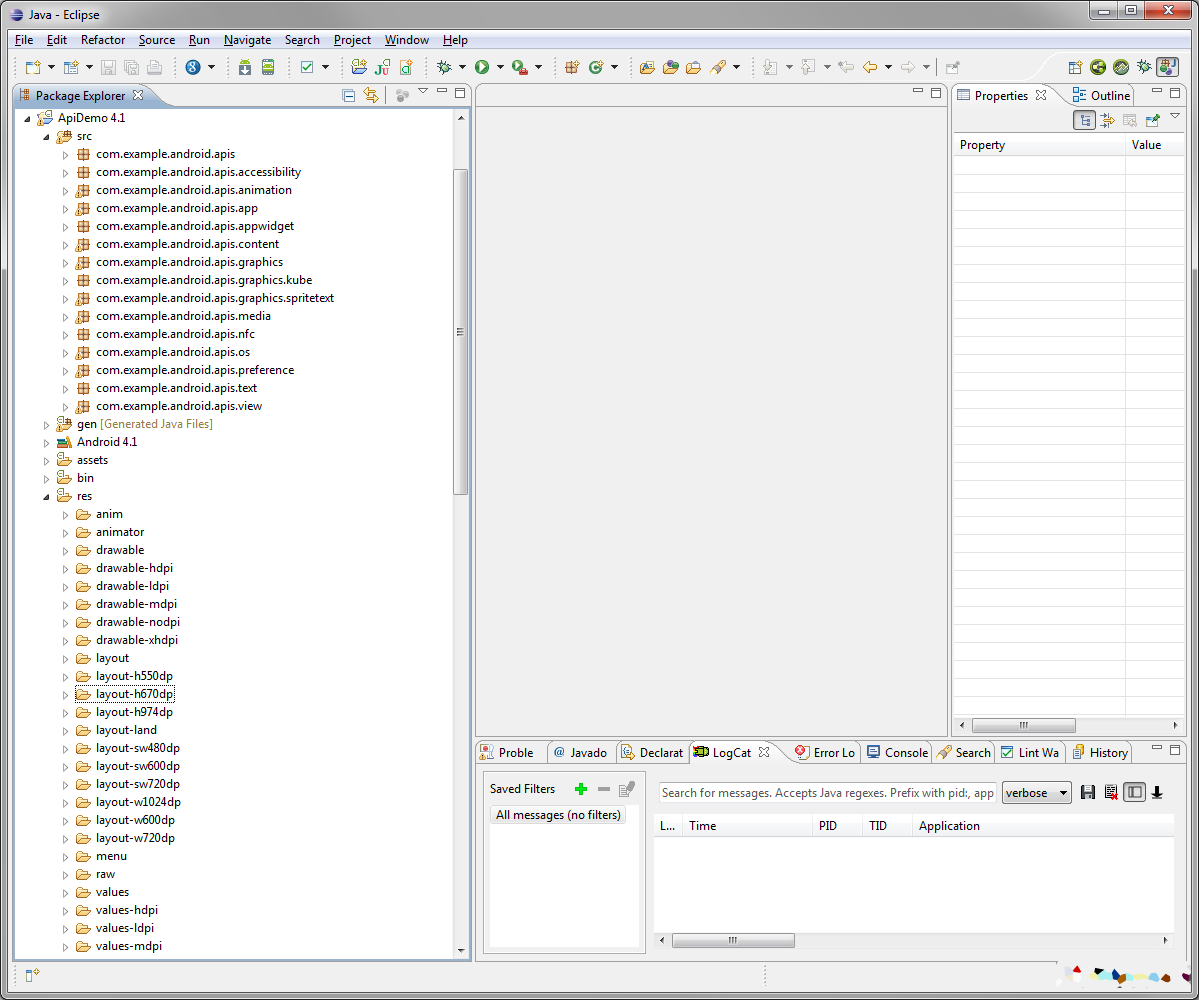
Your new project will now show up in Eclipse. You can look through its files, packages, and the structure of the sample app. The ApiDemos sample app is particularly big, as it has sample code to demonstrate almost every core Android API.
Step 6: Launch a Sample Project
Let’s compile and launch our new sample project on the emulator. First, start your emulator and wait for it to fully launch (forget how this works? See Android Virtual Device Creation).
Next, choose Run > Run Configurations…
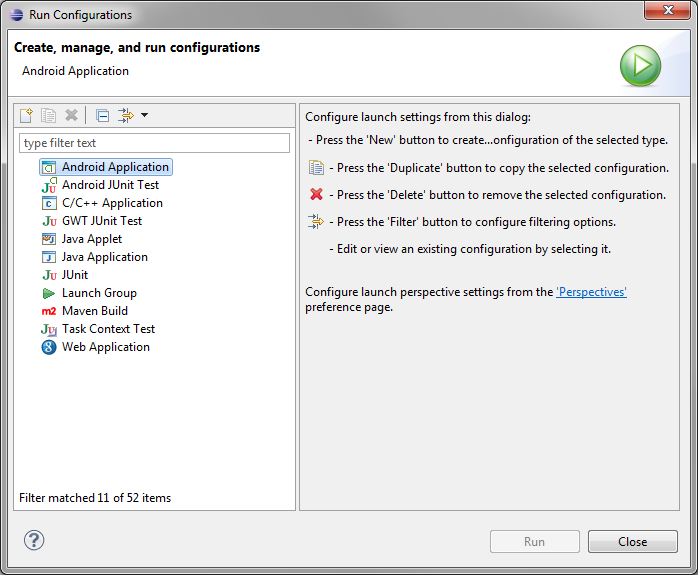
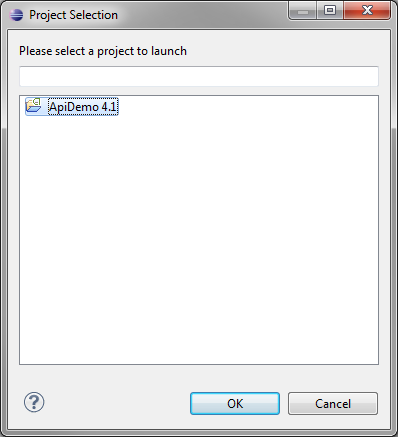
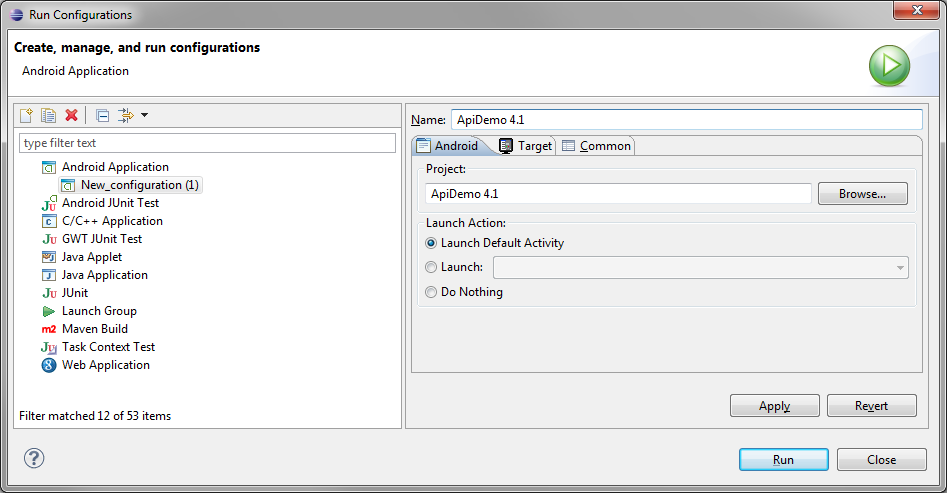
Double-click on Android Application (or right-click and choose New). On the first tab, choose the Browse… button, pick your new sample project, and click OK.
Now fill in the Name field. We usually name our Run Configurations with the project name to avoid confusion but you can name it whatever you like. Run and Debug Configurations have different options such that you could want multiple configurations for a single project.
On the Target tab, check the radio button for “Always prompt to pick device.” Take note of some of the other Run Configuration options, like the network speed and latency; we’re not going to use any of these options right now but it’s worth knowing where they are.
本文转自Work Hard Work Smart博客园博客,原文链接:http://www.cnblogs.com/linlf03/archive/2012/12/01/2797307.html,如需转载请自行联系原作者