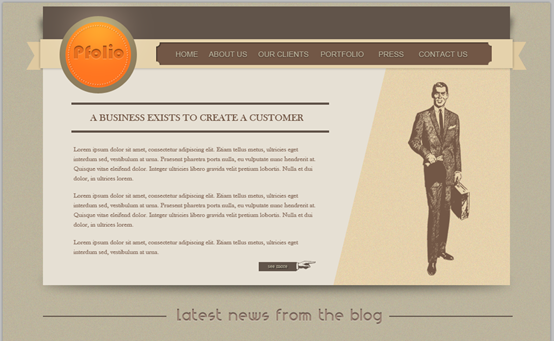
作为编码者,美工基础是偏弱的。我们可以参考一些成熟的网页PS教程,提高自身的设计能力。套用一句话,“熟读唐诗三百首,不会作诗也会吟”。
本系列的教程来源于网上的PS教程,都是国外的,全英文的。本人尝试翻译这些优秀的教程。因为翻译能力有限,翻译的细节上还有待推敲,希望广大网友不吝赐教。
约定:
1、本文的软件是Photoshop CS5版本
2、原教程的截图是英文的,本人在重新制作的基础上,重新截了中文版的图
3、原文中有些操作没有给出参数。本人在反复测试的情况下测定了一些参数,以红色的文字显示。有些错误的参数,直接以红色文字显示正确的参数
例如:(90,22,231,77),表示矩形的左上角的坐标是(90,22),宽231,高77
例如:(90,22),表示矩形的左上角的坐标是(90,22),矩形的其他两个参数教程里已经指定
4、在教程的最后会附上本人的心得。有些是对教程中的一些步骤的优化等。
Let’s start the tutorial:
让我们开始教程
Step 1
Open Photoshop, create a new document (Ctrl +N) and use the following dimensions 1020 by 1460.
步骤1
打开PS,新建文档(Ctrl+N),按照下面的设定,尺寸:1020px*1460px
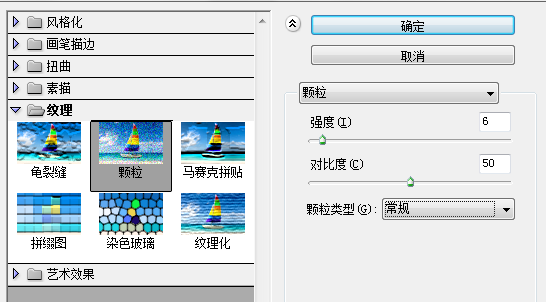
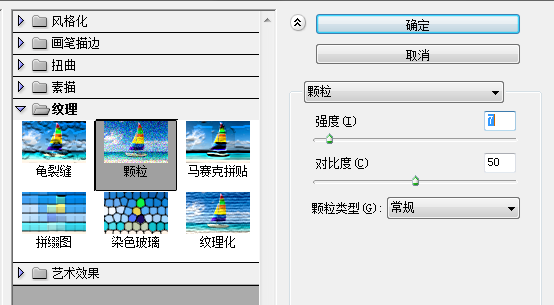
Set the foreground color to #bcb49d, then select Paint Bucket Tool and click one time on your document to change the color, then go to Filter>Texture>Grain. Here use the following settings:
设置前景色为#bcb49d,然后选择油漆桶工具,在你的文档上点击一次改变颜色,然后点击:滤镜 > 纹理 > 颗粒。下面是我用的设置
Step 2
Select Rectangle Tool and create this shape on top. As a color I have used #61544a
步骤2
用矩形工具在顶部新建一个矩形(75,7,870,61),颜色: #61544a
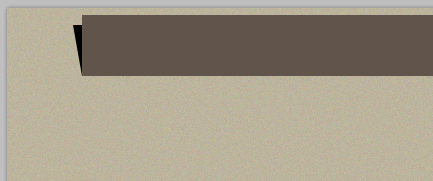
With Pen Tool create this black shape:
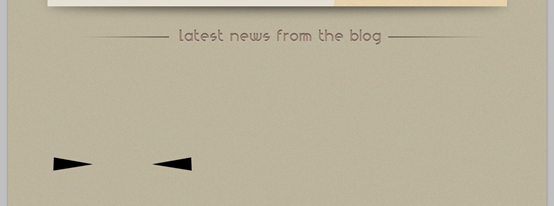
用钢笔工具新建一个黑色的三角形:
不熟悉钢笔工具的,也可以用矩形工具新建一个黑色矩形,然后用直接选择工具,选中矩形的左下角,然后按delete键删除,变成一个黑色的三角形
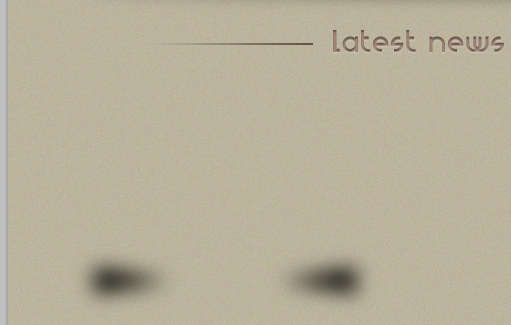
Then go to Filter>Blur>Gaussian Blur and apply a Gaussian blur with a radius of about 6.5px. Proceed in the same way for the right side. You should have something like this now:
然后点击:滤镜 > 模糊 > 高斯模糊,添加一个高斯模糊,半径为6.5px。在右侧如法炮制。如下图所示:
Step 3
Select Rectangle Tool and create this shape. For my shape I have used this color: #e5d2ac
步骤3
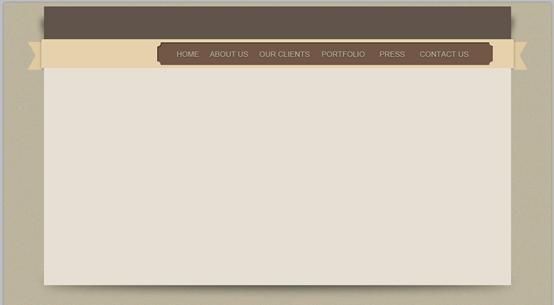
选择矩形工具新建一个矩形(70,68,880,54),这个矩形的我选择的颜色: #e5d2ac
Next with Pen Tool I will create this shapes:
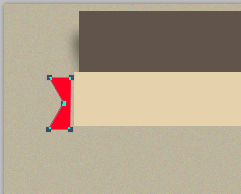
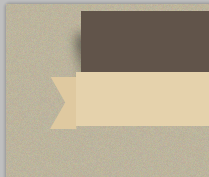
接下来用钢笔工具在左侧创建如下的形状:
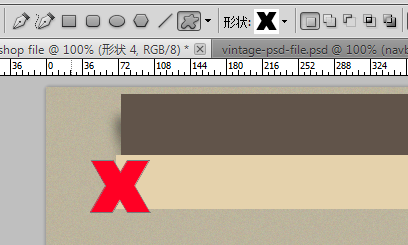
由于笔者不习惯钢笔工具,故本步改为
先用自定义形状工具,选择X型的图形
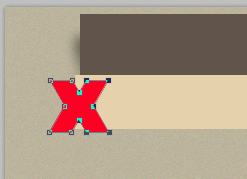
用直接选择工具,按住Shift键,选择X型图形的右侧的几个控制点
按delete键删除选中的控制点
再用直接选择工具,按住Shift键选中右侧的两个控制点,按住Shift键向右侧拖动几个像素,并改颜色为 #dfc9a0
在右侧如法炮制
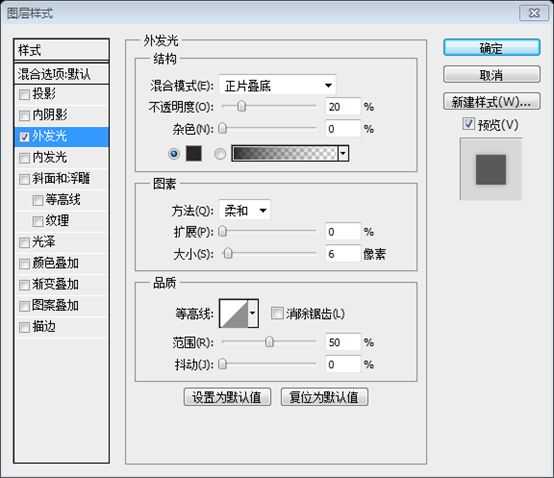
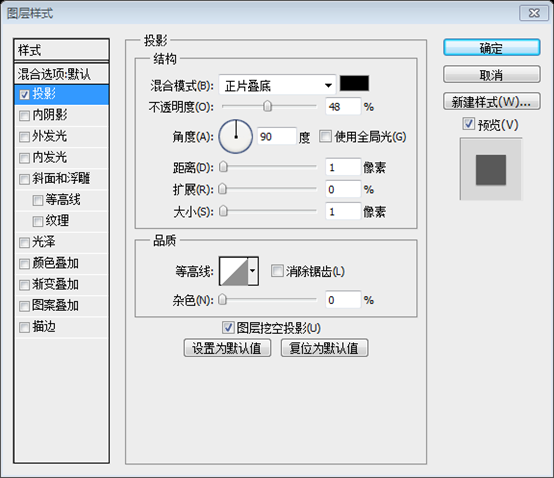
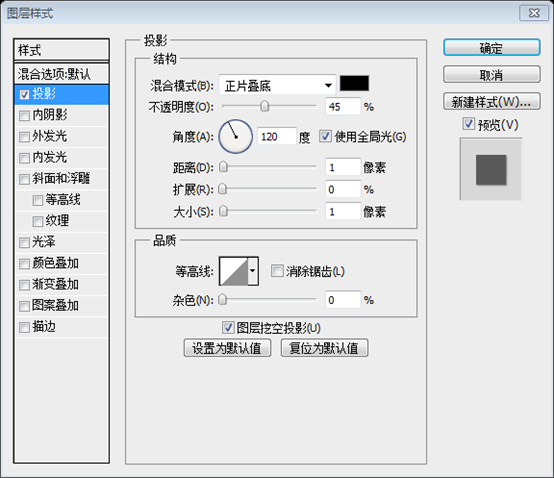
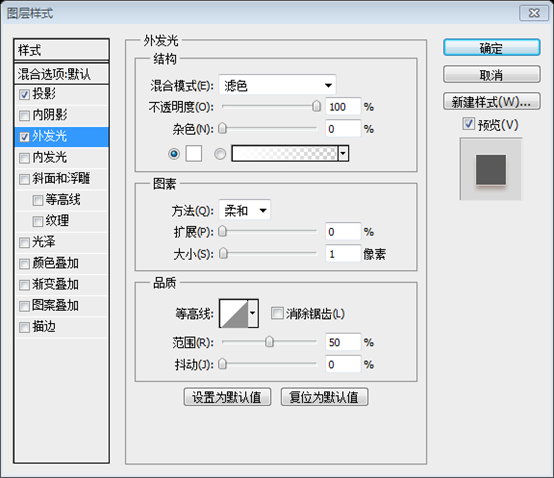
为了使当中的长条矩形看起来有阴影,给它增加外发光的样式
Step 4
I will select Rectangle Tool and I will create this shape and I will apply this layer styles:
步骤4
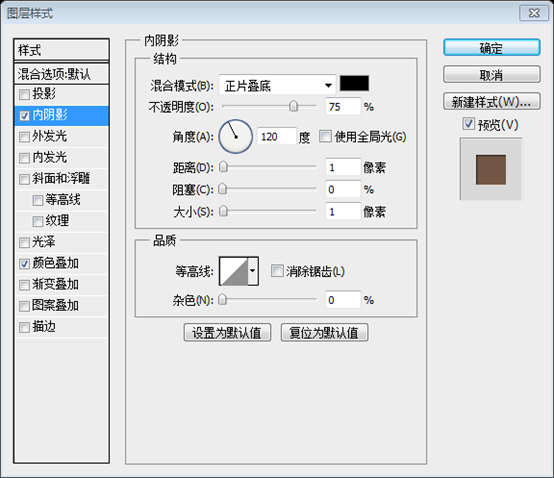
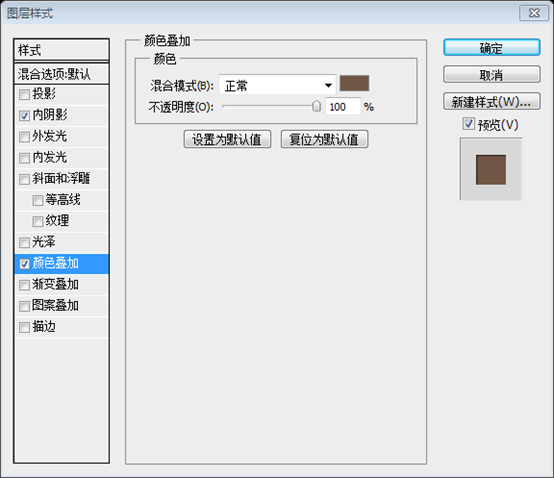
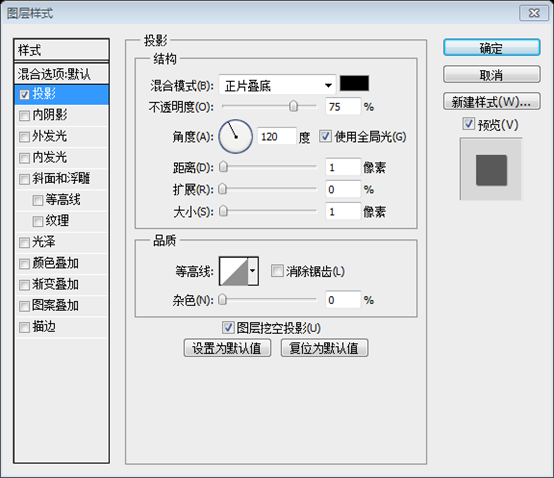
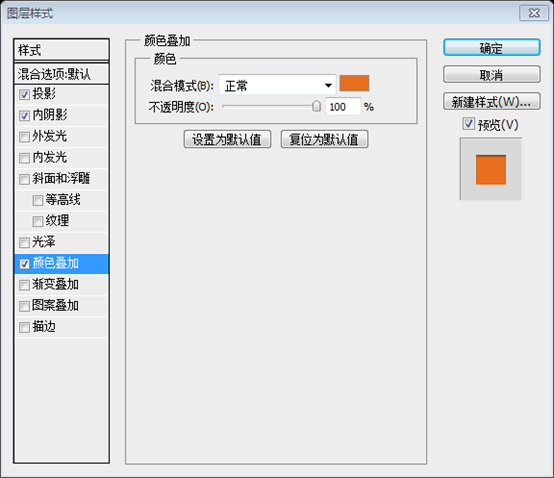
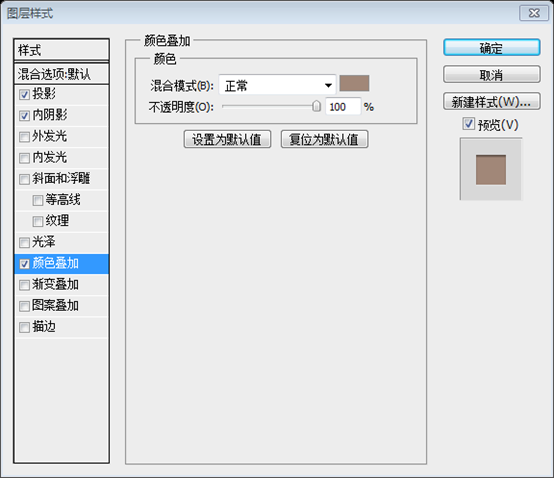
用矩形工具新建一个矩形(286,74,625,42),并按照下图添加图层样式
颜色叠加: #725746
Because this is a shape (a vector object) to apply the next step I will have to rasterize this shape first. To do that, locate the shape on your layer palette, right click on it and choose Rasterize Layer
Once the layer is rasterized, select Eraser Tool, with a brush of 7px and start erasing each corner of the shape.
因为这是一个形状(矢量对象),在做下一步之前首先是要栅格化图层。为此,在你的图层面板上选中该形状图层,在上面鼠标右键然后选择栅格化图层
当图层栅格化好以后,选择橡皮擦工具,选择半径为7px(实际上,我感觉12px比较好,下图是12px的效果图)的圆画笔,然后擦除矩形的四个角
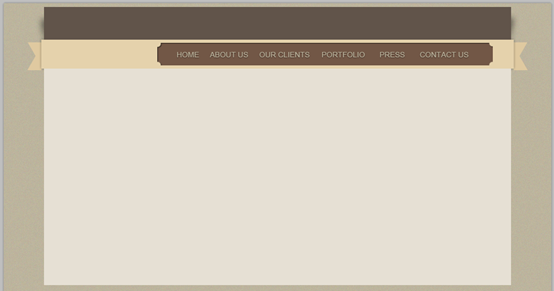
We are doing this because we need to create a vintage style for our navigation. After you finish this, with type tool add the links for the navigation bar. Here is my result:
我们这样做是因为我们需要创建一个复古样式的导航栏。在你完成之后,用文字工具添加导航栏的链接(字体:Arial,字号:14px,颜色: #bcb49d,并添加如下的图层样式)。这是我的结果:
Step 5
On this step we will create featured area. With Rectangle Tool I will create this shape. Color used #e6e0d4:
步骤5
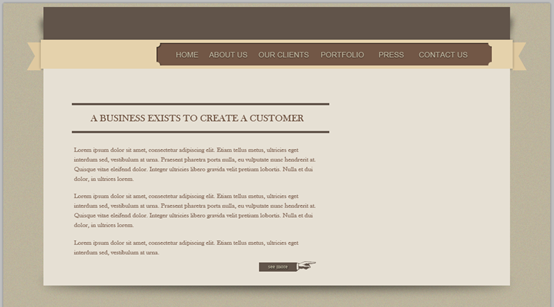
在本步,我们要创建特色区域。用矩形工具创建一个矩形(75,122,870,404),颜色: #e6e0d4
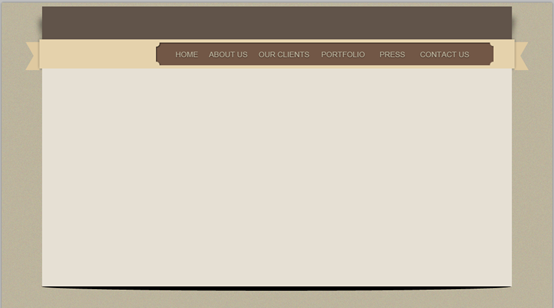
I will select Ellipse Tool and I will create this black shape
用椭圆工具创建一个黑色的椭圆
And I will apply a Gaussian Blur (Filter>Blur>Gaussian Blur) of about 4px. My result:
然后添加高斯模糊(点击:滤镜 > 模糊 > 高斯模糊),半径为4px
With Type Tool I will add some text:
用文字工具添加一些文本:
本步骤也是一句话略过,故在此将详细的过程补充完整
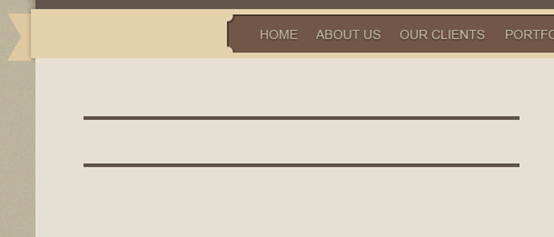
用矩形工具画两个矩形(128,186,480,4)和(128,238,480,4),颜色: #61544a。(也可以用直线工具画两条粗细为4px的直线)
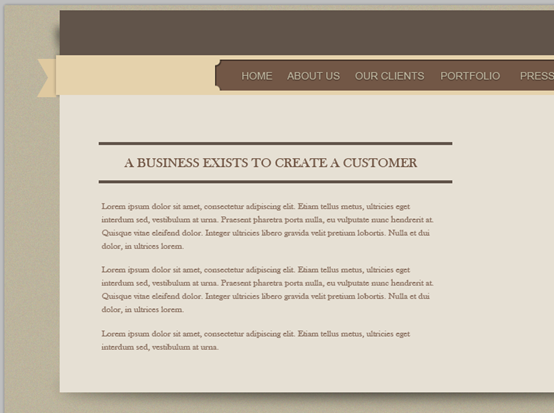
在两条直线之间添加一些文本。字体:Baskerville Old Face,字号:18px,颜色:#725746
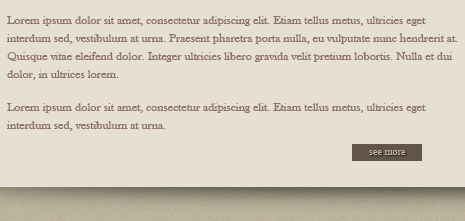
在下方添加一些段落文字,字体:Baskerville Old Face,字号:12px,颜色:#8d7464
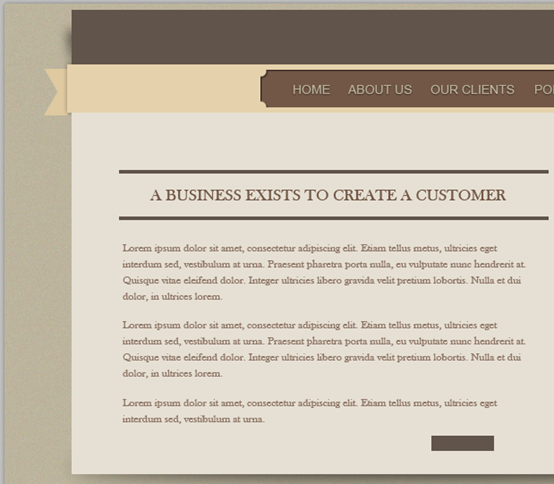
用矩形工具在段落文字的下方创建一个矩形(477,483,70,17),颜色: #61544a
给矩形添加文字。字体:Times New Roman,字号:10px,颜色: #bcb49d。给文字添加图层样式:
用自定义形状工具在按钮的右侧添加一个手型形状。颜色: #61544a
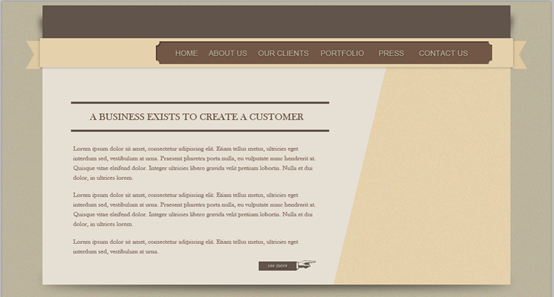
On the right side I will select Pen Tool and I will create this shape.
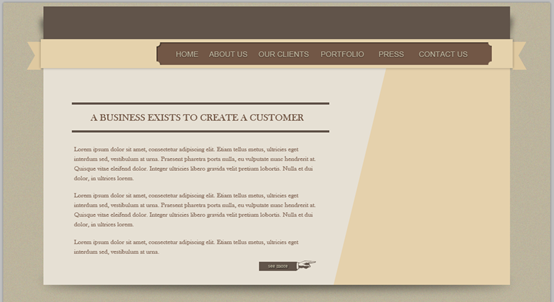
在右侧用钢笔工具创建如下的形状,颜色: #e5d1ac
笔者不擅长钢笔工具,用矩形工具新建一个矩形(617,122,328,404),然后按Ctrl+T自由变形工具,右键选择斜切,拖动左上角的点向右侧移动,H的度数:-13.64。
I will go to Filter>Texture>Grain and I will use this settings:
点击:滤镜 > 纹理 > 颗粒,按照下图设置:
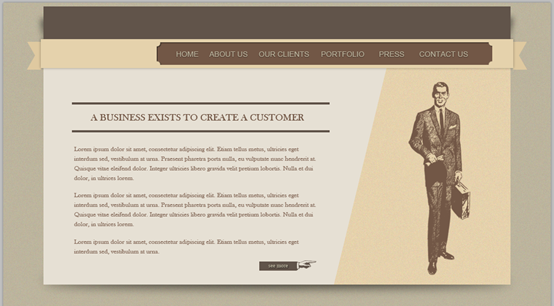
Next from Vintage Photoshop (PSD) File I will select business man and I will add it on my document. All you have to do is to open the vintage Photoshop file and to drag and drop the business man on your document. Here is my result:
接下来从Vintage Photoshop (PSD) File中选择business man,然后添加到我的文档。你要做的就是打开vintage Photoshop file并拖动business man到我的文档,添加颜色叠加: #725746。这是我的结果:
This area is finished now. Let’s head up to create the logo.
该区域已经完成。让我们开始创建LOGO
Step 6
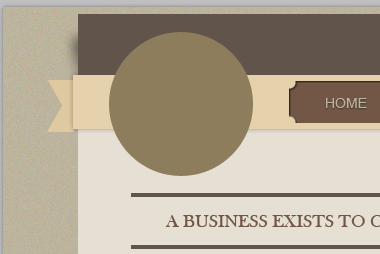
First I will select Ellipse Tool and I will create this circle. As a color I have used #8d7d5d
步骤6
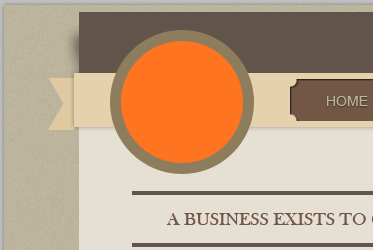
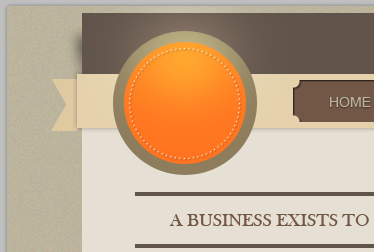
首先用椭圆工具创建一个圆(106,25,144,144)。颜色设置为: #8d7d5d
Next I will use again Ellipse Tool but this time I will create a orange circle, smaller then the first one:
接下来再次用椭圆工具创建另一个圆(117,36,122,122),颜色: #ff7420,比前一个小一点:
Having Ellipse Tool still selected I will create a white ellipse on the top of the 2 circles.
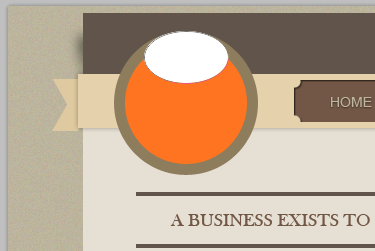
继续保持选择椭圆工具,在2个圆的上方创建一个白色的椭圆
Once you have created this one, apply a Gaussian Blur for it (Filter>Blur>Gaussian Blur) with a radius of 20px. Set the blending mode to Overlay.
My result:
当你创建好这个椭圆后,添加高斯模糊(滤镜 > 模糊 > 高斯模糊),半径:20px(参数还是要斟酌一番,参数设置的大小和你的椭圆大小有关)。把混合模式设置为叠加
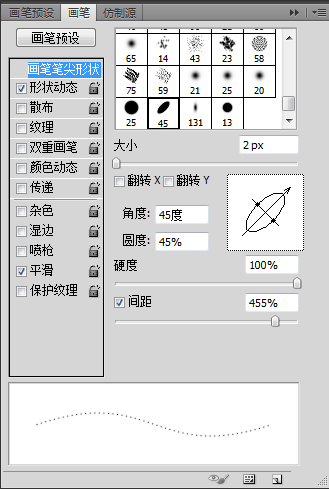
Next on the top of all this circles I would like to make a circle with dashes. You can easily do this on Illustrator, but Photoshop does not have a special tool to create it, that’s why we will have to improvise. First select Brush Tool (B), then open the brush palette. You can do that by pressing F5 on your keyboard or from Window>Brush. Once you have done this, apply the following settings to your brush palette:
接下来在顶部的圆内,我喜欢创建一个用划线的圆。在Illustrator中很容易做到这一点,不过在PS中并没有一个普通的工具去创建它,这就是为什么我们需要即兴发挥一下。首先选择画笔工具,然后打开画笔面板。你可以按F5或者是点击:窗口 > 画笔去打开画笔面板,按照下图设置你的画笔面板。
Now select Ellipse Tool, but this time make sure that you select paths, instead of shape layers (please see the screenshots)
现在选择椭圆工具,不过这次是确保选择是路径,取代形状图层(请看屏幕截图)
Once you have done this, Pres Ctrl+Shift +Alt+N to create a new layer the you can create another circle. As you can see this one is not filled. Right Click on it and choose Stroke Path. A window will pop-up, select Brush, hit OK,
当你完成一切时,按Ctrl+Shift +Alt+N创建一个新的图层,你可以创建另一个圆。当你看见这个圆没有填充。右键并且选择描边路径。一个窗口会弹出,选择画笔,按确定。
then push Delete on your keyboard. You should have something like this now:
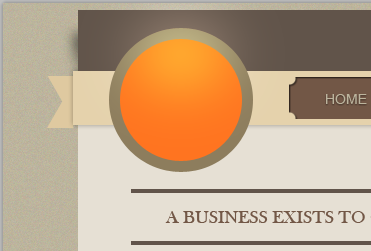
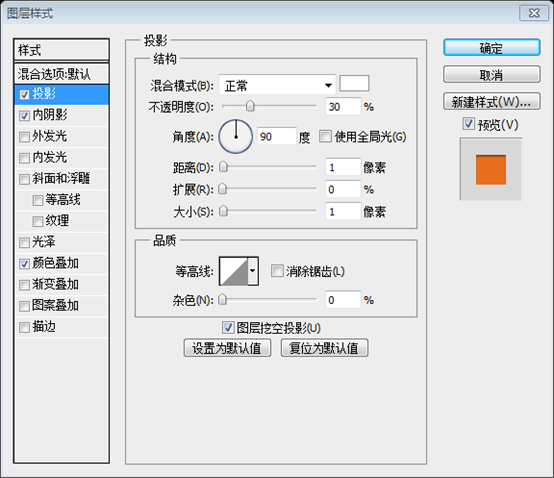
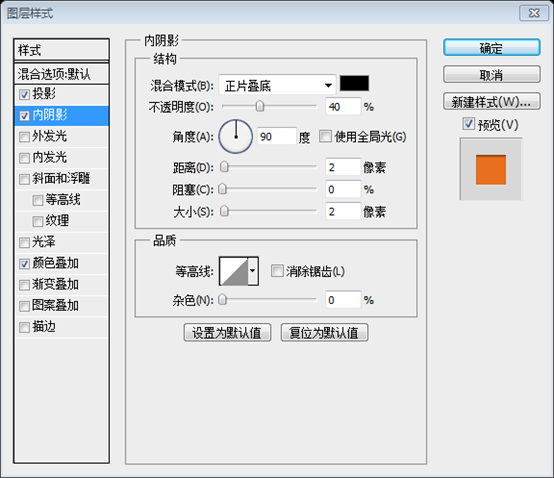
然后按Delete键。给这个图层添加如下的图层样式,你的作品应该像下图一样:
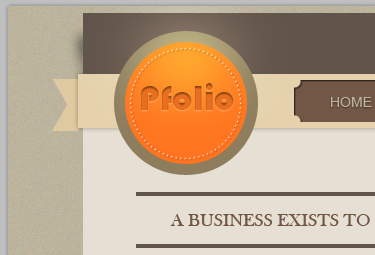
Next with Type Tool I will write: Pfolio (font used Bauhaus 93) and I will apply this layer styles:
接下来用文字工具添加:Pfolio(字体:Bauhaus 93,字号:36px),并添加如下的图层样式:
颜色叠加的颜色: #e86f1e
The logo is finished, let’s move to the content area now…
LOGO已经完成,接下来开始制作内容区域部分
Step 7
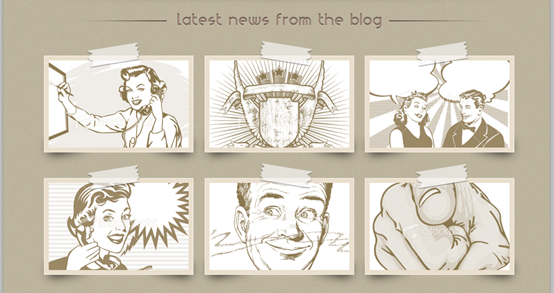
I will select Line Tool and I will create this 2 lines, then with Type Tool I will write “Latest News From Blog” using Neues Bauen font. I have applied the following layer styles for the phrase “Latest News from the blog”:
步骤7
选择直线工具创建2条直线((75,583,230,2)和(720,583,230,2),颜色: #61544a),然后用文字工具书写Latest News From Blog,字体:Neues Bauen,字号:22px。对文字图层添加如下的图层样式:
颜色叠加的颜色: #a18778
Next, on the line from the left side of the text, I will add a Layer Mask (directly from Layer Panel), I will select Gradient Tool, I will make sure that the default palette is selected (black & white) and I will draw a line from left to the right.
接下来,在文字左侧的直线,我要添加图层蒙版(直接在图层面板操作),我要选择渐变工具,选择默认的面板(黑白),然后从左拖到右
I will proceed in the same way for the line on the right.
Here is my result:
对右边的直线同样的操作
这是我的结果:
Next with Pen Tool I will create this 2 triangles
下一步,用钢笔工具创建两个三角形
建议:可以用矩形工具画一个矩形,然后用直接选择工具拖动一个点到合适的位置,再用直接选择工具选择另一个点,按Delete删除,得到三角形
Then I will apply a Gaussian blur (Filter>Blur>Gaussian Blur) of about 10 px. My result:
然后添加高斯模糊(点击:滤镜 > 模糊 > 高斯模糊),半径设置为10px。这是我的结果:
On the top of this 2 triangle, I will select Rectangle Tool I will create a shape and I will apply the following layer styles:
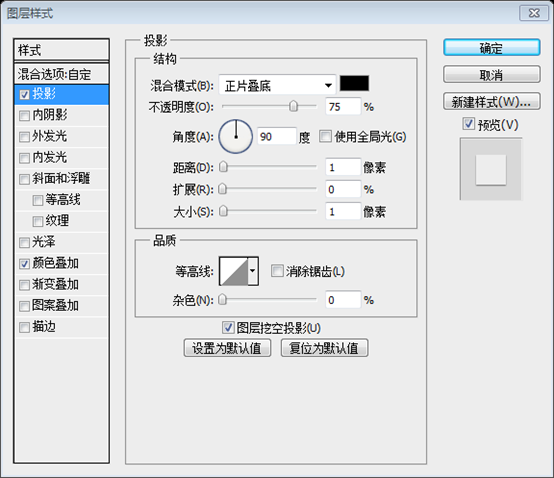
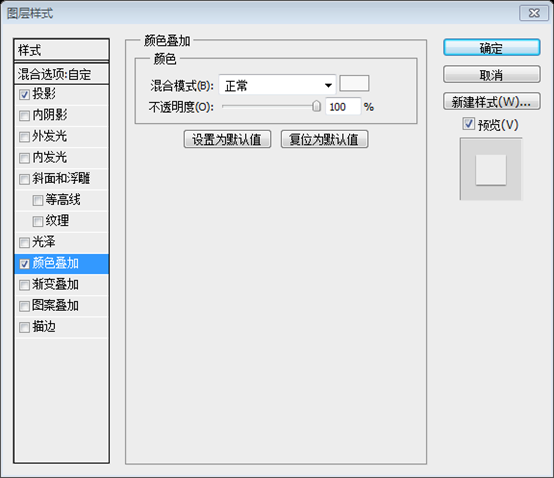
在2个三角形的上方,选择矩形工具创建一个矩形(77,650,277,179),然后按照下图添加图层样式:
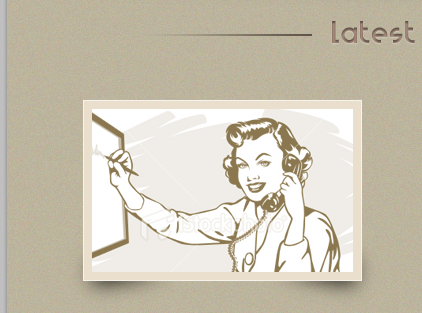
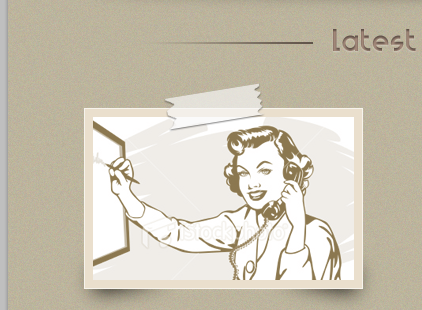
Then using a stock image I will add it over my shape. Here is my result:
在矩形上添加一张图片。这是我的结果:
将背景色改为#c5bba7,图片的图层的混合模式改为叠加:
I will select Rectangle Tool and I will create this shape. On the Layer Palette I will right clock on it’s layer and I will choose Rasterize Layer, then I will select Lasso Tool and I will make a selection on the left and on the right side of the shape. I will hit delete on my keyboard and I will proceed in the same way on the right side, then I will lower the opacity and I will apply this layer styles:
选择矩形工具新建一个矩形。在图层面板上右键选择栅格化图层,接着选择套索工具,在矩形的左侧建立选区(锯齿状)。接着按键盘上的delete键,在矩形的右侧用同样的方法,接着调低不透明度(66%),按照下图添加图层样式:
颜色叠加的颜色:#f8f8f8
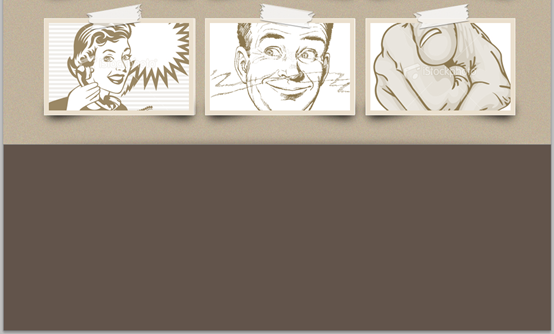
In the same way I will create 5 new thumbnails
用同样的方法创建另外5个图
Step 8
With Rectangle Tool I will create this shape:
步骤8
用矩形工具创建一个矩形(0,1113,1020,347),颜色: #62544b:
With Pen Tool I will create this shapes:
用钢笔工具创建如下的形状:
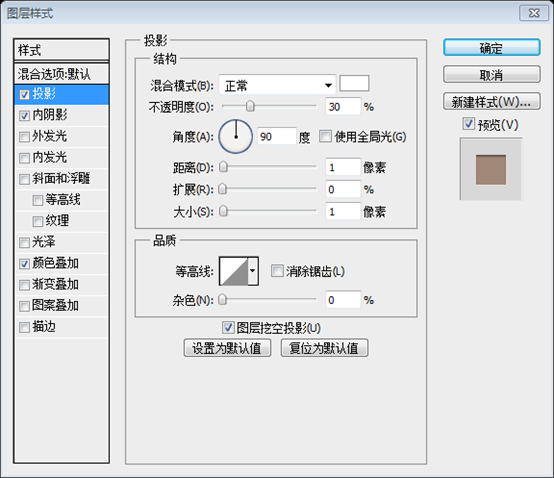
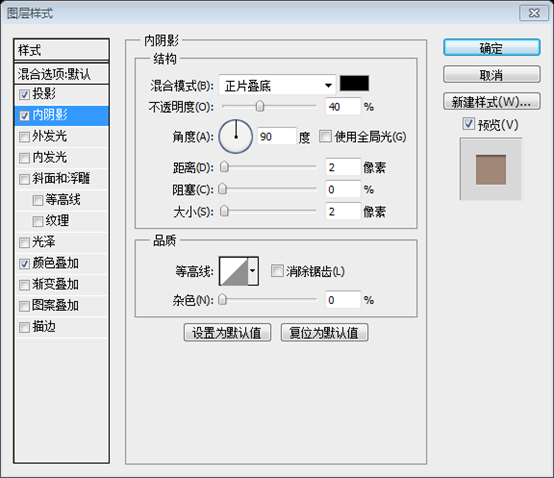
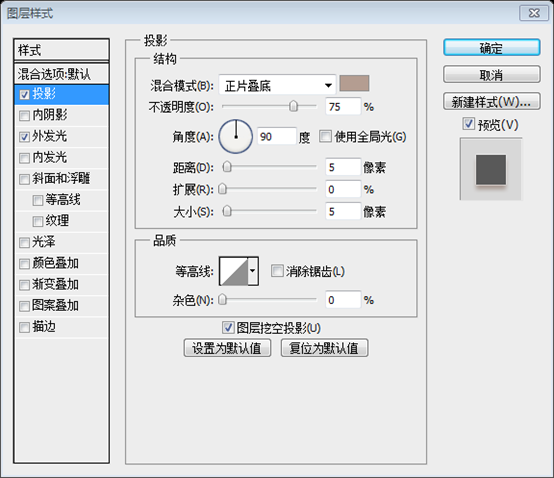
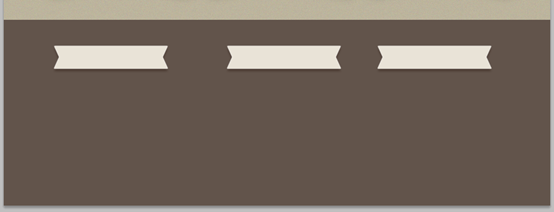
建议:用自定义形状工具,选择X型,用直接选择工具将上下两个控制点移到水平位置,再拖动右边两个控制点到合适的位置,填充的颜色: #e9e3d7,按照下图添加样式:
投影的颜色: #b49d91
并复制两个到合适的位置:
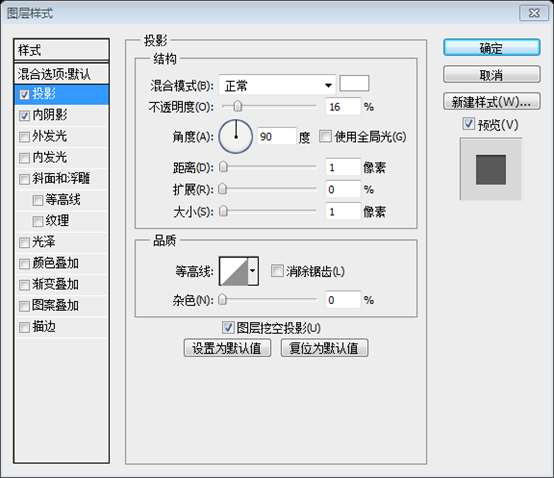
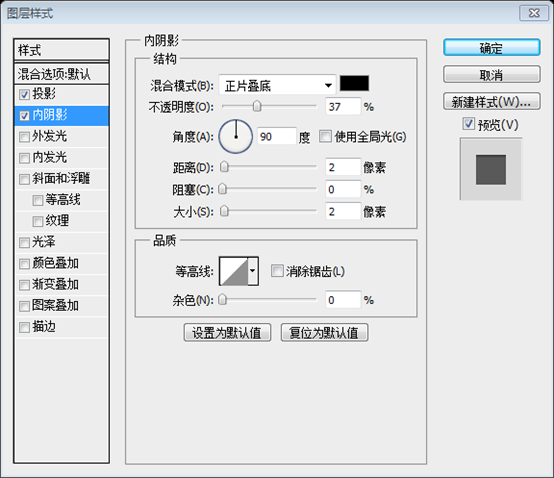
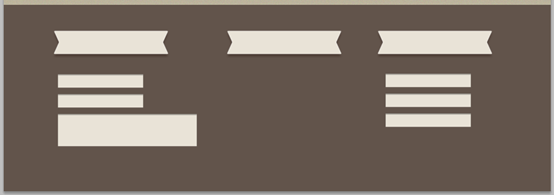
用矩形工具添加一些矩形,并添加如下的样式:
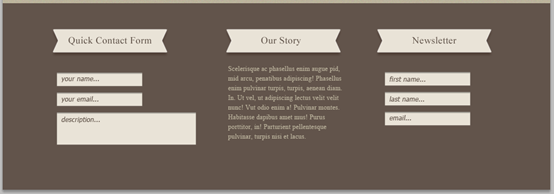
With Type Tool I will add the text
用文字工具添加一些文字:
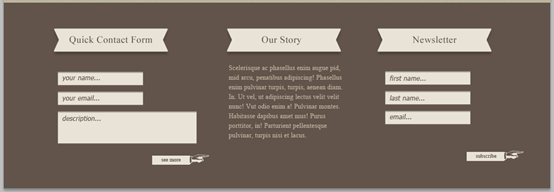
复制之前的手型按钮二次,修改文字为see more 和 subscribe,并移到合适的位置
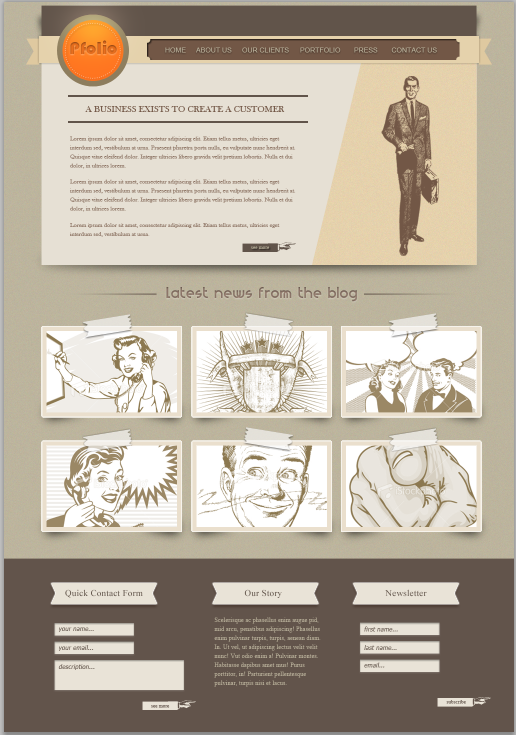
至此,本教程全部完成
后记:
本教程是复古风格的,有点像上世纪初的西部风格。利用混合模式的叠加的效果,能使黑色的图像合成到木纹色。整个页面简朴朴素,有一股清新的风格,让人心旷神怡。

